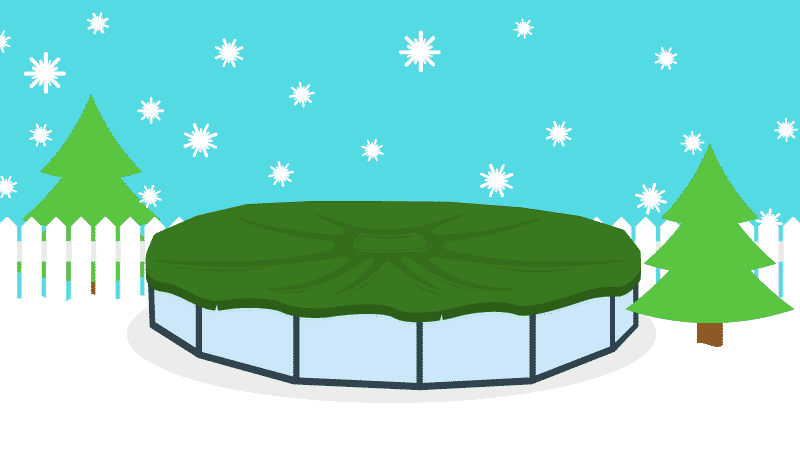
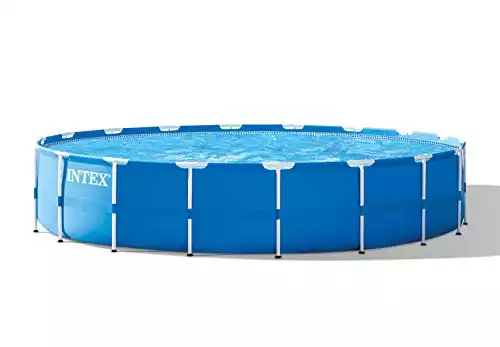
No matter how easy a pool is in terms of maintenance, you still have to put in a little effort when the weather starts to turn from “Let’s hit the pool!” to “Let’s get hot chocolate.” Unlike regular above ground pools, Intex models require special care when colder temperatures roll in.
That said, it really doesn’t take a ton of work to winterize Intex pools. You just need to plan ahead of time and be prepared to tuck your pool away for the season. Trust us, you don’t want to risk puncturing your wonderful (and expensive) pool by skipping out on this end-of-summer chore.
What Does it Mean to Winterize Intex Pools?
When you close or winterize an inground or regular above ground pool, it means you remove equipment or dry out pipes that can be damaged by freezing temperatures. You also add extra chemicals to your water to keep bacteria, algae, and mold from growing over the winter months while your pool is covered and not in use.
Winterizing an Intex pool is a little different. Because they’re at least partially inflatable, closing your Intex for the season could mean the difference between having a pool next summer and having to buy a new one.
The lightweight materials Intex uses make it fast and easy to set up a pool. But this ease comes with the downside of the pool being more vulnerable to ice damage. Leaving your Intex pool out in colder temperatures can completely rupture your pool lining. That’s a mess you don’t want to clean up or repair. And if the damage is bad enough, you may not be able to repair it at all.
This is why the Intex pools manufacturer strongly recommends draining and disassembling your pool if the temperatures in your area drop to or below 41°F (5°C). And so do we. We don’t want your cozy winter by the fire to be ruined by a messy pool collapse.
When to Close Your Intex Pool
To prevent ice damage, it’s best to store your pool well before freezing temperatures are a possibility. It isn’t just about getting ahead on this important chore. It’s that procrastination can really trip you up.
If you get a weather alert about a cold front coming through your area in two days’ time, you may not even have time to close your Intex pool.
That’s because Intex pools are made to be drained with a regular garden hose. That’s a small volume of space for a significant amount of water, especially if you have a larger model. So plan for this process to take a few days.
Yes, you read that right. Days.
Do You Really Need to Put Your Pool Away?
We get it. There’s a huge time investment involved in breaking down and setting up your Intex pool every season. If you want to winterize your Intex pool without breaking it down, you can. Just remember how susceptible they are to ice damage, and consider whether you want to run the risk of ruining your pool for the sake of skipping the chore of closing it.
If you live in a region with a warmer climate and milder winters, though, you can close your Intex pool without breaking it down.
Your Intex Pool Winterizing Toolkit
The supplies necessary to winterize Intex pools will vary by climate. Cold means your winter temperatures get below 41°F (5°C); warm means you’re above that year-round.
One thing you’ll notice: the first item your tool list is your owner’s manual. If yours is lost in the garage void, don’t worry. You can download it from the Intex website by looking up your pool model.
If You Live in a Cold Climate, You’ll Need
- Your owner’s manual
- Skimmer
- Vacuum head
- Garden hose
- Drain connector (comes with your Intex pool)
- Soft cloth
- Warm water
- Mild all-purpose cleaner
- Talcum powder or cornstarch
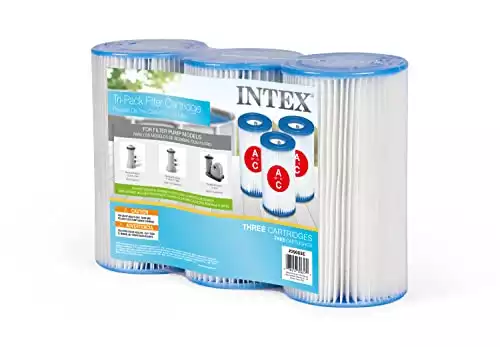
- Replacement filter cartridge
If You Live in a Warm Climate, You’ll Need
- Your owner’s manual
- Skimmer
- Vacuum head
- Winterizing chemicals
- Water testing kit
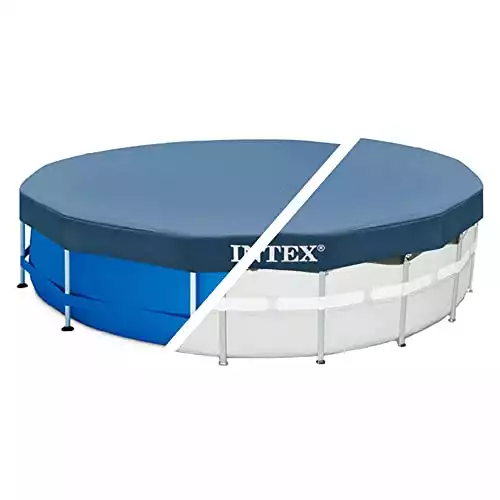
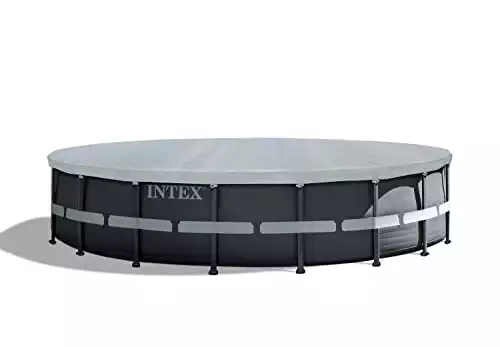
- Intex 12′ Frame Set Pool Cover
Salt Water Systems
If you’re using an Intex salt water system, you can use the breakdown instructions without any changes for storing your pool. If you’re keeping your pool up over the winter, just make sure the winterizing chemicals you use are compatible with salt water pools.
Hey, You’re Just 12 Steps Away from a Closed Intex Pool
It might seem like a lot to do, but trust us, this is kind of like cooking with a slow cooker. Just go step by step and you’ll be ready for winter in … well, a couple of days, but you won’t have to be active the whole time.
1. Clean and Prepare to Drain Your Pool
You don’t want to clog up your pipes with stray debris, so do yourself a favor and thoroughly clean your water and vacuum the sides and bottom of your pool.
Your city or county may have specific instructions for disposing of swimming pool water. Always check before you drain to make sure you don’t violate any local ordinances or accidentally harm the environment or your own property by draining down a storm drain or into your yard.
Important: Before you start draining your pool, disconnect it from all power sources.
If you have a skimmer, ladder, or any attached accessories in the pool, remove them. Clean and dry the parts before storing in a clean, dry area for the winter. If your strainer grid—the screwed-in portion connecting your pool to your filter—is exceptionally dirty or filled with gunk, remove and replace it.
Warm Weather Instructions
If you have any inflatable parts, make sure they’re properly inflated. Clean any debris from the water and vacuum the sides and bottom of the pool. It’s going to be sitting covered for several months, so you don’t want anything gross stewing till spring.
If you’ve chosen not to drain your pool, once it’s clean, balance the water chemistry. Shoot for a pH range of 7.4 to 7.6 and total alkalinity between 100 parts per million (ppm) and 150 ppm. Then skip down to the warm weather instructions in step 5.
Save over $300 by winterizing your pool in our step-by-step video course. Works for inground, above ground, and inflatable pools.
Learn More
2. Attach the Hose to the Drain Connector
Whether you have an inflatable or metal frame, the same simple draining instructions apply. Check the drain plug on the inside of the pool to make sure it’s plugged in. Do not unplug it. The water will take care of it later.
Find the drain connector. Hopefully you’ve kept it in a safe spot, since it’s one of the few parts you didn’t need when you set up your pool. Attach the female end of the hose to the thin end of the drain connector. (In case you don’t remember, the female end of the hose is the part you attach to a faucet or spigot.)
Important: Once the hose is securely connected, point the other end of the hose away from your house and any other structures. Emptying water near a building’s foundation can cause some serious structural damage, so it’s critical the flow of water is directed away from any structures.
3. Connect the Drain Connector to the Drain Valve
Remove the cap from the drain valve, but don’t attach the drain connector and hose just yet. Do one last check to make sure your hose is in the proper draining position because the pool will start to drain the second you attach the connector.
When you’re sure everything is set, push the drain connector into the valve. It will disrupt the inner drain plug, and the water will begin to flow. Tighten the connector to the valve to ensure it doesn’t come loose while draining.
4. Allow Your Pool to Drain
Remember: a tiny hose plus a big pool means a long drain time. Check in on your pool’s progress occasionally to make sure the connector is still tightly secured.
Important: Keep an eye on the hose while the pool is draining to make sure it doesn’t move, and remains directed away from your home and other structures.
This is a good time to get a headstart on cleaning. As the water level goes down, you can start cleaning the pool walls with a mild all-purpose cleaner and soft cloth.
Important: Do not use any strong or abrasive cleaners on your lining. They can damage it, costing you extra money in repairs or to replace the liner.
5. Finish Draining
The water will eventually lower to a point where it’s unable to reach the drain. Help the rest along by carefully lifting the side of the pool away from the drain until the pool is completely empty.
Warm Weather Instructions
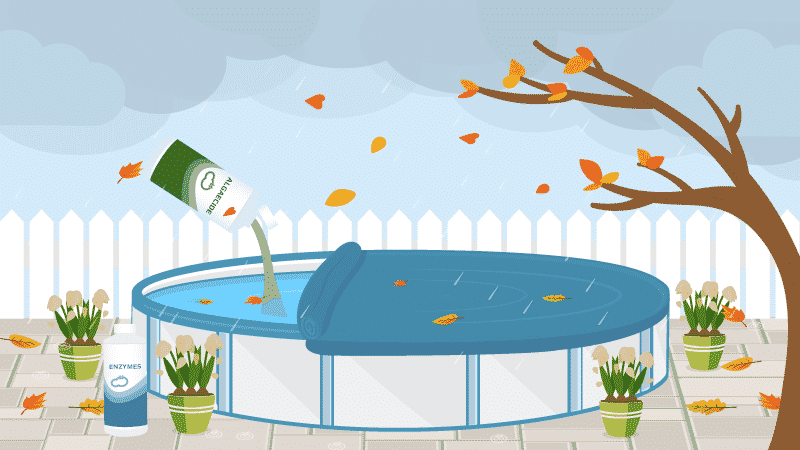
Add winterizing chemicals to the clean water. Using slow release chemicals to winterize Intex pools can save a lot of worry throughout the off-season. You can also add extra shock and an algaecide to the water for good measure.
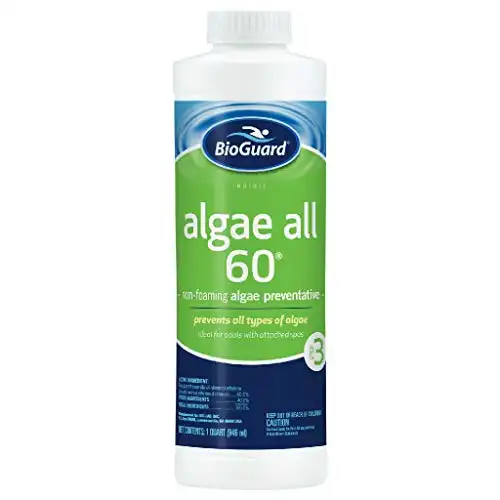
A copper-free algaecide to help prevent your pool from turning green.
Allow the chemicals to circulate for a day.
6. Reattach Loose Parts
Remove the drain connector and your garden hose before replacing the inside drain plug and the outside drain valve cap. These get folded up along with the wall, so this is the best way to store the parts without losing them.
Warm Weather Instructions
Depending on your pool model, you either need to close your inlet and outlet valves, or plug in the inlet and outlet fitting to the inside of the pool wall. If you’re unsure how to do this, refer to your owner’s manual.
You’re not breaking down your pool, so skip to the warm weather instructions in step 12.
7. Clean Your Pool
Wipe down the inside of your Intex pool with a soft cloth, warm water, and mild cleaner. Thoroughly rinse and drain any leftover water.
8. Deconstruct the Frame and Let the Liner Dry
If your model has a frame, reverse your owner manual assembly instructions to take it down. Clean and dry the frame pieces before storing in a dry and secure location.
Let your liner air dry completely. Once the water has evaporated, sprinkle a little talcum powder or cornstarch on the liner to absorb leftover water and prevent excessive sticking.
9. Fold the Liner
Do you love or loathe folding fitted sheets? Just asking, because this process is kind of like that, since your goal is to fold a circle into a rough square. Like folding a fitted sheet, this just takes a little practice and know-how.
How to Fold Your Intex Pool Liner
- To start your square, fold one-sixth of the liner twice on itself.
- Repeat the one-sixth double fold to the opposite side of the pool. (It’ll look like a fat cylinder.)
- Repeat steps 1 and 2 with the unfolded sides.
- Pull one folded end to the opposite side and lay it flat.
- Pull the other end over the latest later, like closing a book. You want to end up with a long rectangle.
- Fold the two long ends so they meet in the middle.
- Fold the liner one more time to hide the crease from the long end folds.
If you prefer visual aid, refer to your Intex owner’s manual. Once you have the liner folded, you can store it in its original packaging.
Tip: Let’s be honest. If you’ve never mastered folding a fitted sheet, folding your pool liner back into a square that fits in its original packaging might as well be an Olympic sport. If you’re not worried about medaling in that event, just make sure the liner is completely dry, and fold it as neatly as you can so you can put it away without it taking up too much space. No judgment.
10. Drain and Clean Your Accessories
Leaving water in your filter parts and pump can lead to unpleasant discoveries—like mold and bacteria—later.
Make sure all the water is out of your accessories, clean them up, let them air dry, and store them in a clean, dry area.
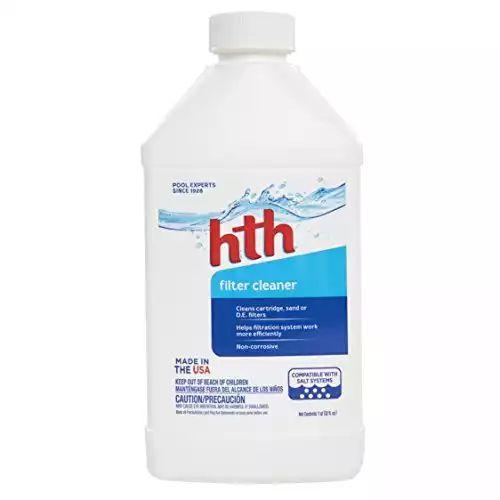
11. Discard the Filter Cartridge
Because they’re incredibly affordable, it’s really not worth the effort to clean and reuse your Intex pool filters. Just make sure you have replacements on hand for next season.
If you’d rather do your part for the environment and get as much use out of that cartridge as possible, you can use filter cleaner on it. But once you can’t get it fully clean anymore, it’s time to replace.
12. Properly Store Your Pool Parts
Keep your liner, frame, pump, and filter hoses indoors in a dry area that is not exposed to freezing temperatures.
To make setup easier next season, make sure you keep all attachments together so you’re not digging through the garage or attic for a missing piece.
Warm Weather Instructions
Turn off your pump and filter. Remove the hoses attaching them to the pool as well. Clean, sanitize, and drain the pump, filter chamber, and their hoses. Ensure they are completely dry before storing indoors in a dry, temperate location.
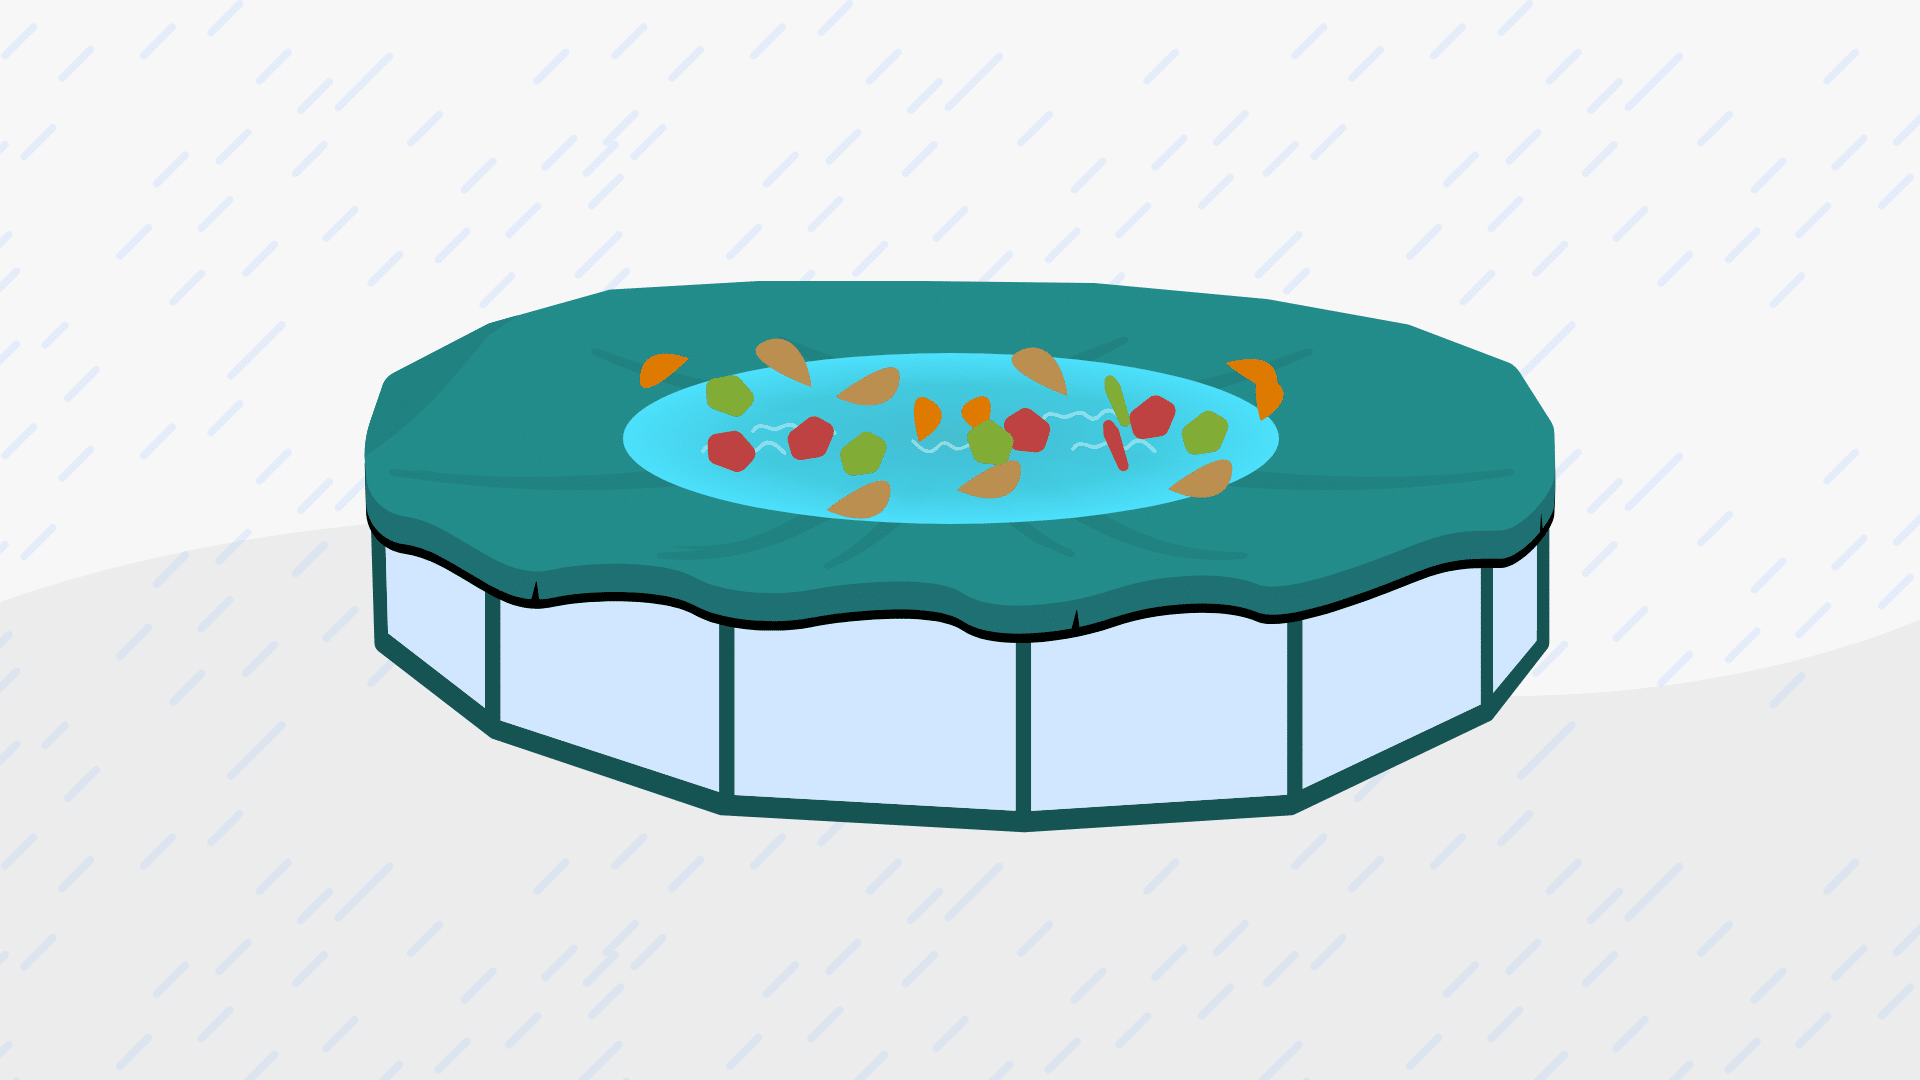
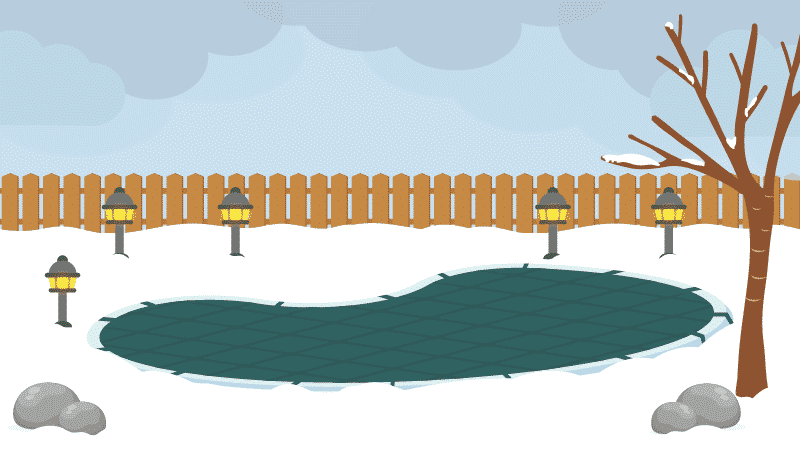
The last thing you need to do is cover your pool to keep leaves and dirt out of your water. Once that’s done, your Intex pool is officially winterized. Be sure to regularly clear any standing water from the cover when you get a lot of rain.
Warning: Intex pool covers are not pool safety covers, which means they won’t keep wayward animals or adventurous children from climbing across and falling in. Take appropriate measures to prevent accidents.
Out of Sight, Out of Mind, Out of Danger
It might seem like a time-consuming chore now, but properly winterizing your Intex pool now can save you a lot of stress later. Most importantly, you won’t have to worry about ice damage ruining your pool.
Plus, you get your yard back for more weather-appropriate activities like jumping in piles of leaves and staging massive snowball fights. Between the peace of mind and extra space, you’ll love tucking your Intex pool away for those cold winter months.
Happy Winterizing!
Need More Pool Maintenance Help?
- Download our free Pool Care Cheat Sheet. It’s a free, easy-to-use guide to help you keep track of taking care of your pool.
- Subscribe to our Swim University YouTube Channel. We publish free video tutorials throughout the pool season.
- Check out our Pool Care Course. You’ll get 30+ step-by-step videos and a downloadable guide with everything you need to know about pool maintenance.