

How to Convert Your Chlorine Pool to Salt Water

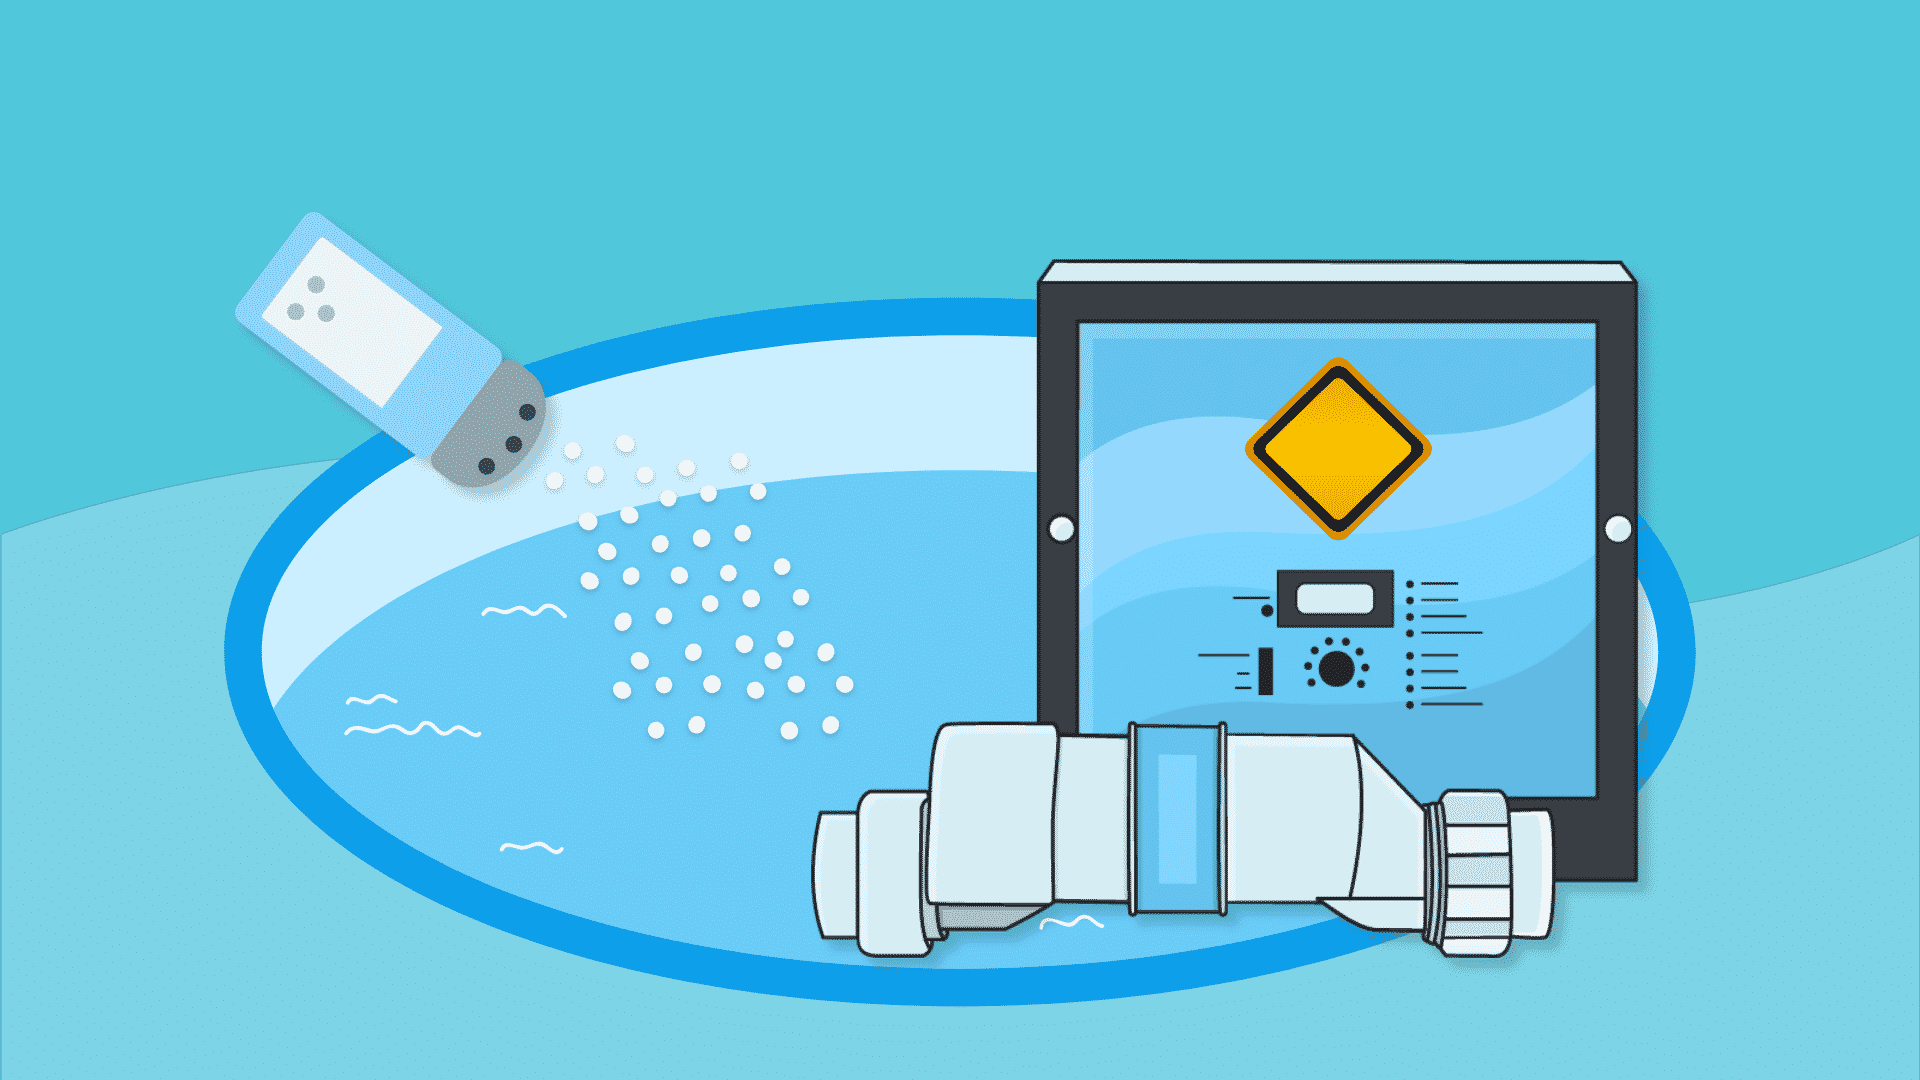
Converting a chlorine pool to salt water is easier than most people think. A balanced chlorine pool is ready to become a salt water pool once you install the salt water generator and add salt (no draining required). Once you convert, salt water pools are easier to maintain, gentler on your skin and eyes, and don’t produce that harsh chlorine smell.
However, in order to install the salt water generator, you will need to be comfortable cutting plumbing, and you’ll incur some initial startup costs. The salt water generator itself costs between $600 and $2,000, depending on the size of your pool.
If you’re ready to make the switch from chlorine, here’s how to convert to a salt water pool and what it costs.
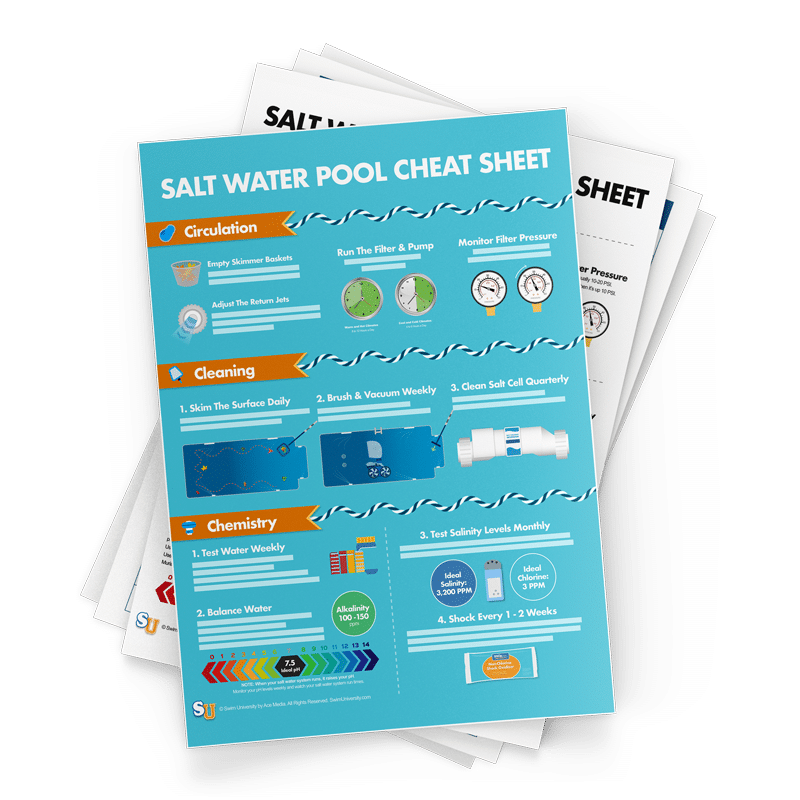
This is the ultimate guide to keeping your pool sparkling clean throughout the year that contains everything you need to know about taking care of your pool the right way. Including saltwater pools.
Want to Learn More about Salt Water Pools First?
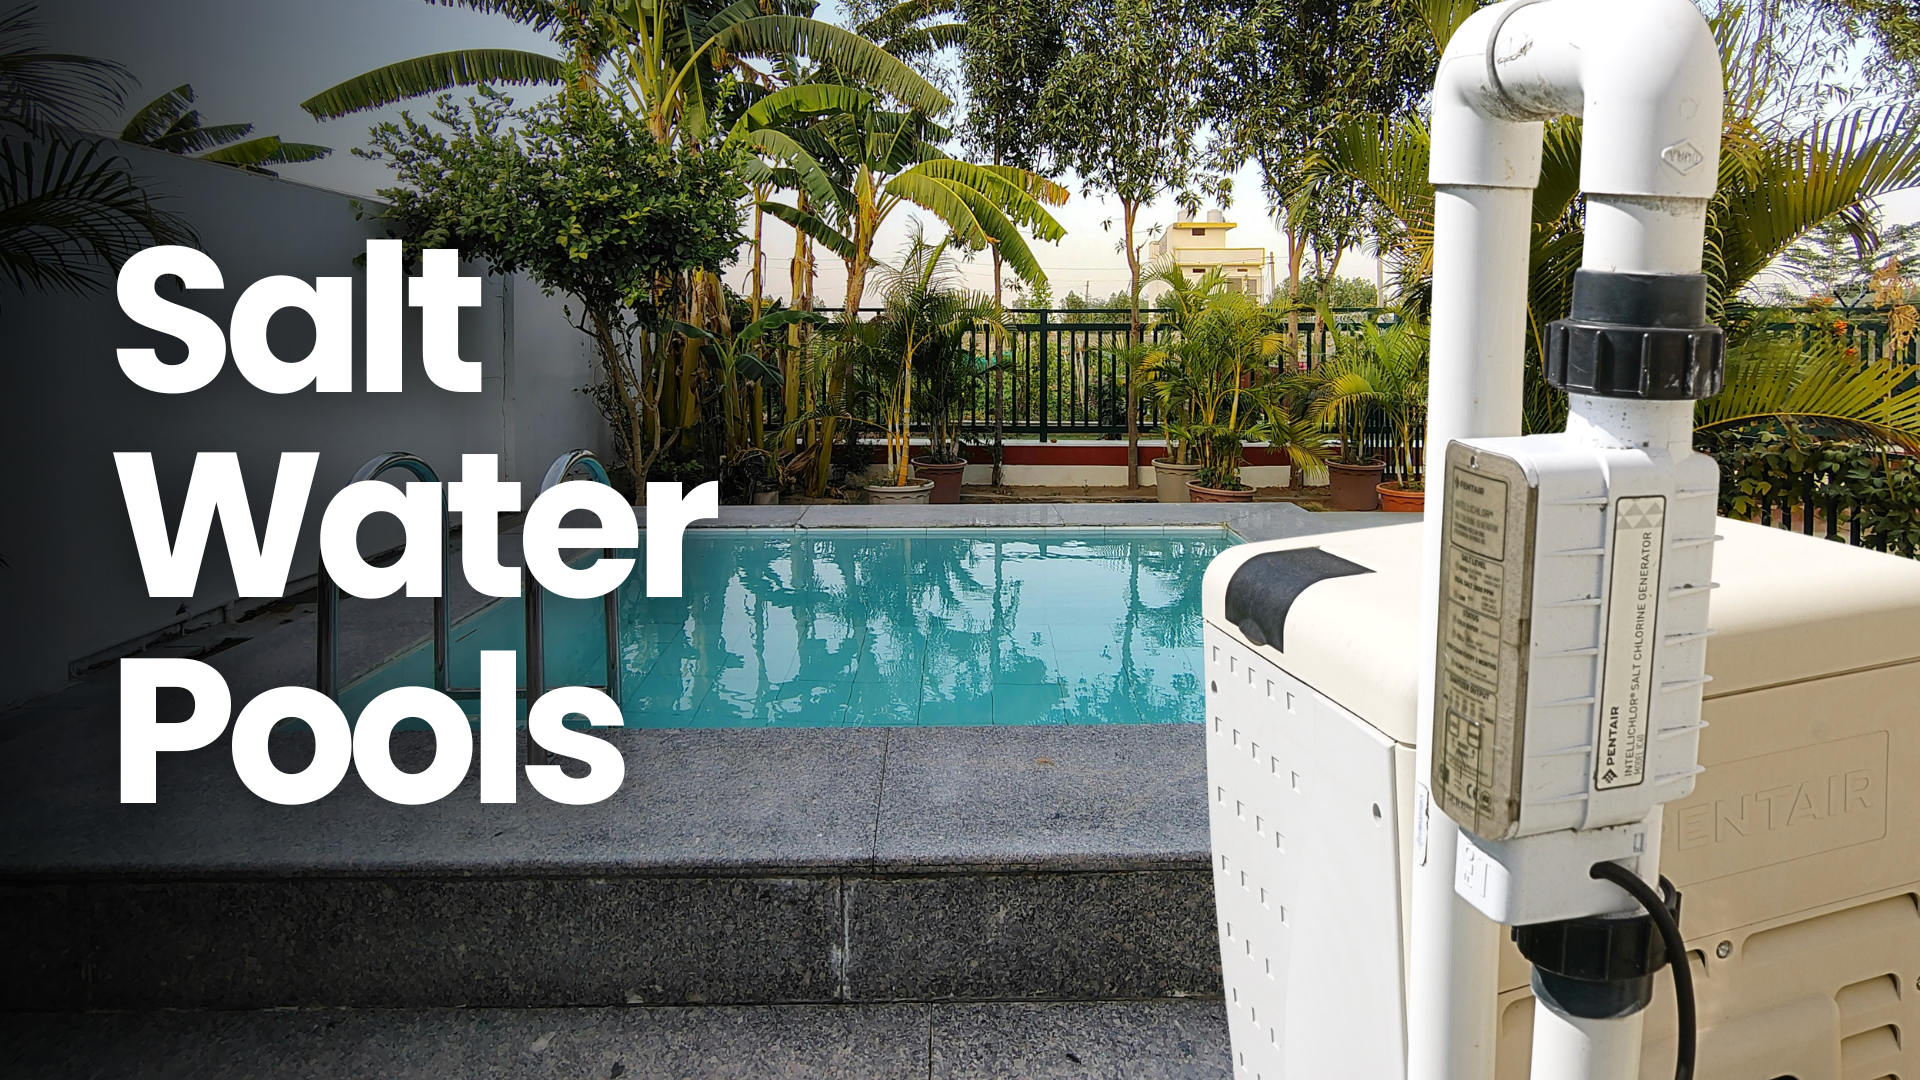
Before you start cutting into PVC pipe, it helps to understand how these systems work. You can read our full guide on salt water pool maintenance to get familiar with the ins and outs of salt water sanitizers. If you’d rather watch than read, we also have a complete video tutorial on YouTube.
How Much Does a Salt Water Pool Conversion Cost?
The total cost for most salt water pool conversions falls between $1,000 and $2,500. That range covers the salt chlorine generator and the initial salt needed to get your system running. This also assumes that you have all of the right supplies on hand to cut PVC pipes and install a generator.
Here’s a rough breakdown of what you’ll spend:
- Salt chlorine generator: $500–$2,000+, depending on pool size and quality
- Pool-grade salt: $50–$250 for the initial fill (roughly 400–600 lbs / 180–270 kg for an average 20,000-gallon / 75,700-liter pool)
- Professional installation: $300–$500 in labor if you hire out
Keep in mind that the salt chlorine generator isn’t a one-time purchase. You’ll need to replace the salt cell every 3–5 years.
Is a Salt Water Pool Cheaper in the Long Run?
Not necessarily. salt water pools tend to cost less in annual chemical expenses, and some owners save up to 50% compared to a traditional chlorine pool. However, those savings can disappear once you factor in the cost of installation and replacing the salt cell. Over the long haul, salt water and traditional chlorine pools cost about the same. But the maintenance tends to be easier in a salt water pool.
Will Your Pool Convert to a Salt Water Pool?
Before you go any further, think about your pool’s construction. It could affect how well the conversion goes.
- Vinyl liner pools are generally fine for salt water systems. Salt can actually be gentler on a vinyl liner than traditional chlorine, which may even extend its lifespan. One caveat: many inground vinyl pools have galvanized steel walls behind the liner. If the liner ever springs a leak (even a small one), salinized water can seep against those steel walls and cause corrosion over time. Keep an eye on your liner and patch any damage immediately.
- Above ground pools with lots of metal parts can rust over time from salt exposure. Resin above ground pools don’t have this concern.
- Concrete and plaster pools are compatible with salt water, but know that salt can wear down plaster faster than normal chlorine. You may need to resurface more frequently. Keeping the water balanced can help mitigate this.
- Metal components anywhere in or around your pool (ladders, diving board hardware, automatic cover tracks) are vulnerable to galvanic corrosion. Installing a zinc sacrificial anode can help protect them.
How to Convert Your Chlorine Pool to Salt Water
The good news is you don’t need to drain your pool to make the switch. Since salt water pools also use chlorine, the transition is more of an upgrade than a full overhaul. Here’s how to do it.
Step 1: Gather Your Materials
Here’s what you’ll need:
- Salt water chlorine generator (the controller and the salt cell)
- Pool-grade salt (use this calculator to estimate how much salt you need)
- PVC couplers and/or adapters
- 2-foot (60 cm) section of PVC pipe
- PVC snips or a hacksaw
- PVC glue
- Safety glasses and gloves
Make sure your PVC fittings and salt cell are the correct size for your pool’s plumbing before you buy anything. A cell that’s too small for your pool will burn out faster.
Step 2: Choose the Right Salt Chlorine Generator
When shopping for a generator, keep three things in mind.
- Size: Choose a system rated for your pool’s volume in gallons. When in doubt, go bigger. An undersized cell has to work overtime and will fail sooner.
- Budget: Cheaper systems aren’t always worse, but factor in lifespan and replacement costs before you decide.
- Features: Basic systems let you adjust how much chlorine is produced and not much else. Higher-end models offer digital readouts, automatic cell cleaning, flow control, and freeze protection. Choose based on your climate and how much automation you want.
Step 3: Test and Balance Your Water
Next, test your pool water before doing anything else. Unbalanced chemistry at the start can cause problems during and after the conversion. Balance your chemicals one at a time in this exact order, waiting at least 30 minutes between each addition and retesting before moving on.
Not sure how to balance your water. Just plug your test results into our Pool Care App, and it will tell you what to add to your water and in what order. And yes, it works for salt water pools!
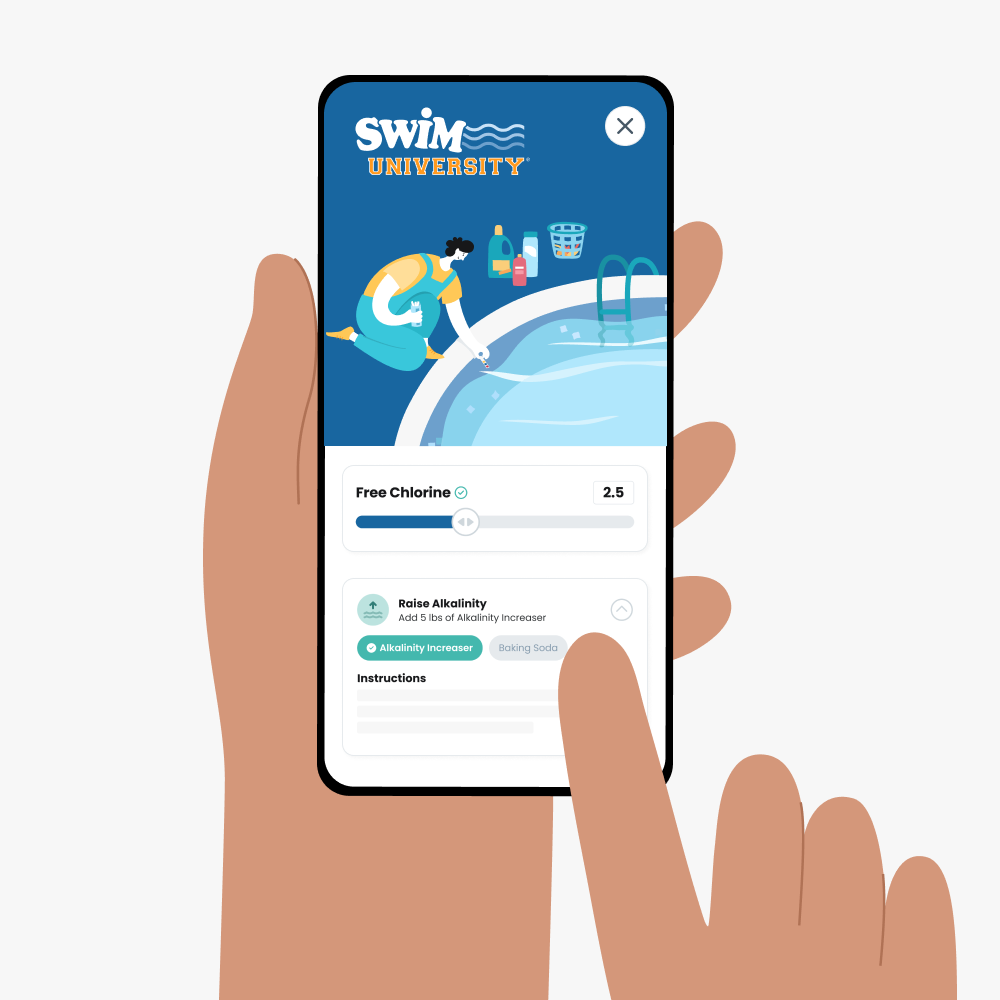
Enter your water test results. Get a custom treatment plan. Know exactly what chemicals to add to keep your pool clear. Saltwater and hot tub compatible.
1. Total Alkalinity (80–120 ppm): Alkalinity acts as a buffer that keeps your pH stable. Adjust it first. Use an alkalinity increaser or baking soda to raise it. Use a
2. pH (7.4–7.6): Once alkalinity is dialed in, adjust your pH. Use a pH increaser to raise it or a
3. Chlorine (1–3 ppm) Your generator will produce chlorine once it’s running, but you need adequate chlorine in the water now to kill any existing contaminants. Add liquid chlorine or dichlor shock to bring levels into range. Avoid cal-hypo shock, since it can cause calcium buildup inside your salt cell.
4. Cyanuric Acid or CYA (60–80 ppm) CYA protects chlorine from breaking down under UV rays. Salt water pools work better with slightly higher CYA levels to prevent your generator from having to work hard to maintain chlorine levels in high heat. Here’s more information on cyanuric acid if you’re not sure what it does. Add stabilizer slowly and in small amounts. If you’ve already added dichlor shock, that product contains CYA, so retest before adding more.
5. Calcium Hardness (175–225 ppm for vinyl/fiberglass or 200–275 ppm for concrete/plaster): Proper calcium levels protect your pool surfaces and equipment over time. Add a calcium hardness increaser to raise low levels. High calcium can build up inside your salt cell and prevent it from working properly, so if you’re dealing with hard water, check out our guide on How to Balance Calcium Hardness.
Step 4: Install the Salt Chlorine Generator
This is the most technical part of the process. Most people hire a professional for this step, but confident DIYers can handle it with basic hand tool skills and comfort working with PVC pipe and electrical connections.
We recommend installing the generator before adding salt, just in case anything goes wrong with the equipment and you need to delay the process.
First, shut off the breaker to your pool equipment. No power should be running during installation. Next, mount the control box on a wall or post near the equipment pad. Then wire the controller according to the manual. Some systems plug directly into a GFCI-protected outlet, while others wire into an existing time clock or directly to the pool pump. Finally, install the salt cell inline with your pool plumbing. It should be the last piece of equipment that water passes through before returning to the pool.
Should I Hire a Professional?
If you’re not comfortable cutting into PVC pipe or handling pool electrical work, hire a professional. Installation typically runs $300–$500 in labor. A licensed pool technician will also verify that everything is properly sealed and wired before firing it up.
Step 5: Turn On the Pump and Check for Leaks
Once the system is installed, turn the power back on at the breaker. Turn on the pump and watch carefully for any signs of leaks around the new fittings. Keep the pump running while you’re adding salt, but don’t turn on the salt system just yet.
Step 6: Add Pool Salt
Now it’s time to figure out exactly how much salt to add. Use this pool salt calculator. If you have no salt in the water, enter 0 for current PPM:
Pool Salt Calculator
Enter your pool volume and current salt reading. You’ll see exactly how much salt to add, and how many bags that works out to.
 Get exact doses in The Pool Care App
→
Get exact doses in The Pool Care App
→
Most salt systems run between 2,700 and 3,600 ppm. Too low and the cell stops producing chlorine; too high and it can throw a fault or corrode metal fittings.
This assumes an ideal salt level around 3,200 ppm, but always check your specific generator’s recommendations. Some systems call for as low as 2,500 ppm or as high as 5,000 ppm.
Add one 40-pound (18 kg) bag around the pool perimeter with the pump running. You can line the bags up around the pool and cut them open to dump them in. Brush the pool to help the salt dissolve faster. It can take up to 24 hours for the salt to fully dissolve. It’s always easier to add more salt later than it is to dilute an overdose, so underestimate the initial dose.
What Kind of Salt Should You Use?
Only use pool-grade salt. Not table salt, rock salt, or any other variety. Other salt that contains impurities like minerals and metals can cause water balance problems and calcium carbonate buildup. The purity level is usually printed on the bag as a percentage.

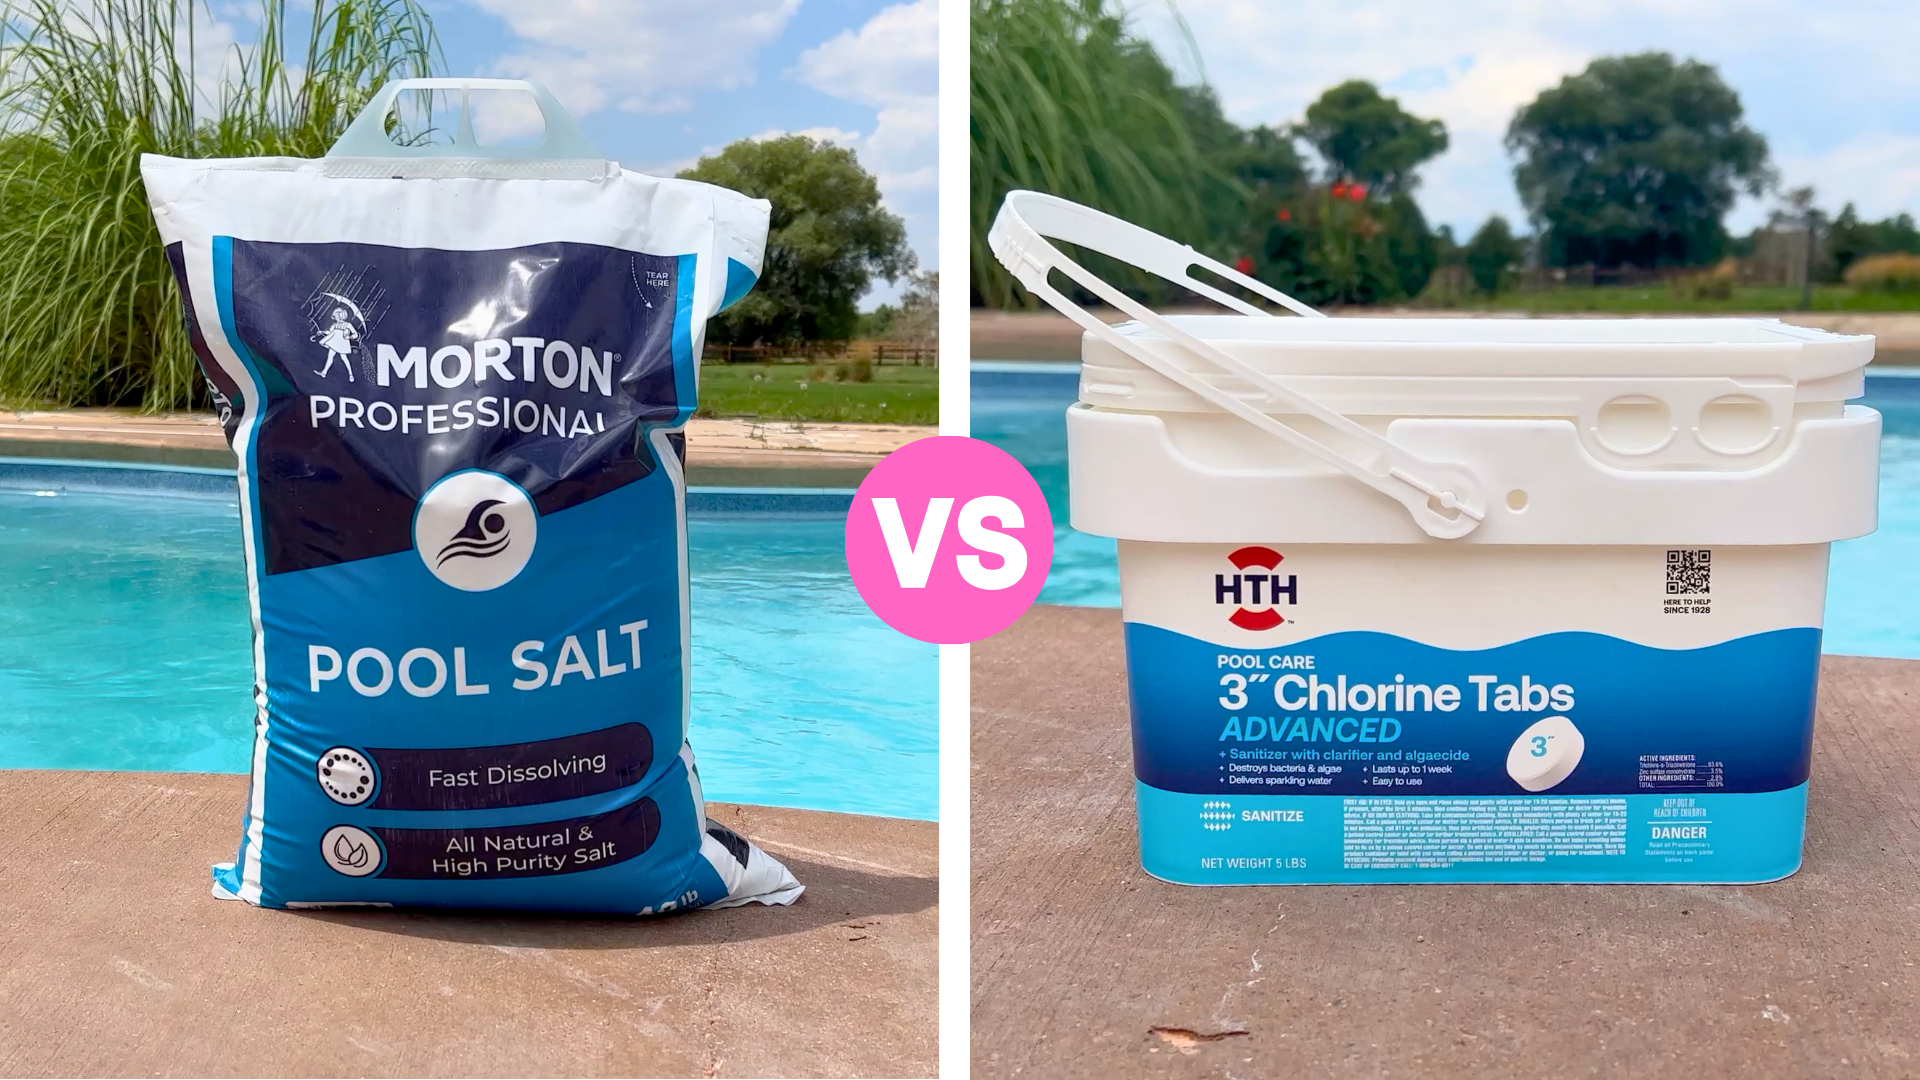
Professional Pool Salt crystallizes early to match the fastest dissolve rates on the market - no more waiting for hours for chlorine tablets to dissolve and produce beautiful clean water.
Step 7: Test the Water and Start the System
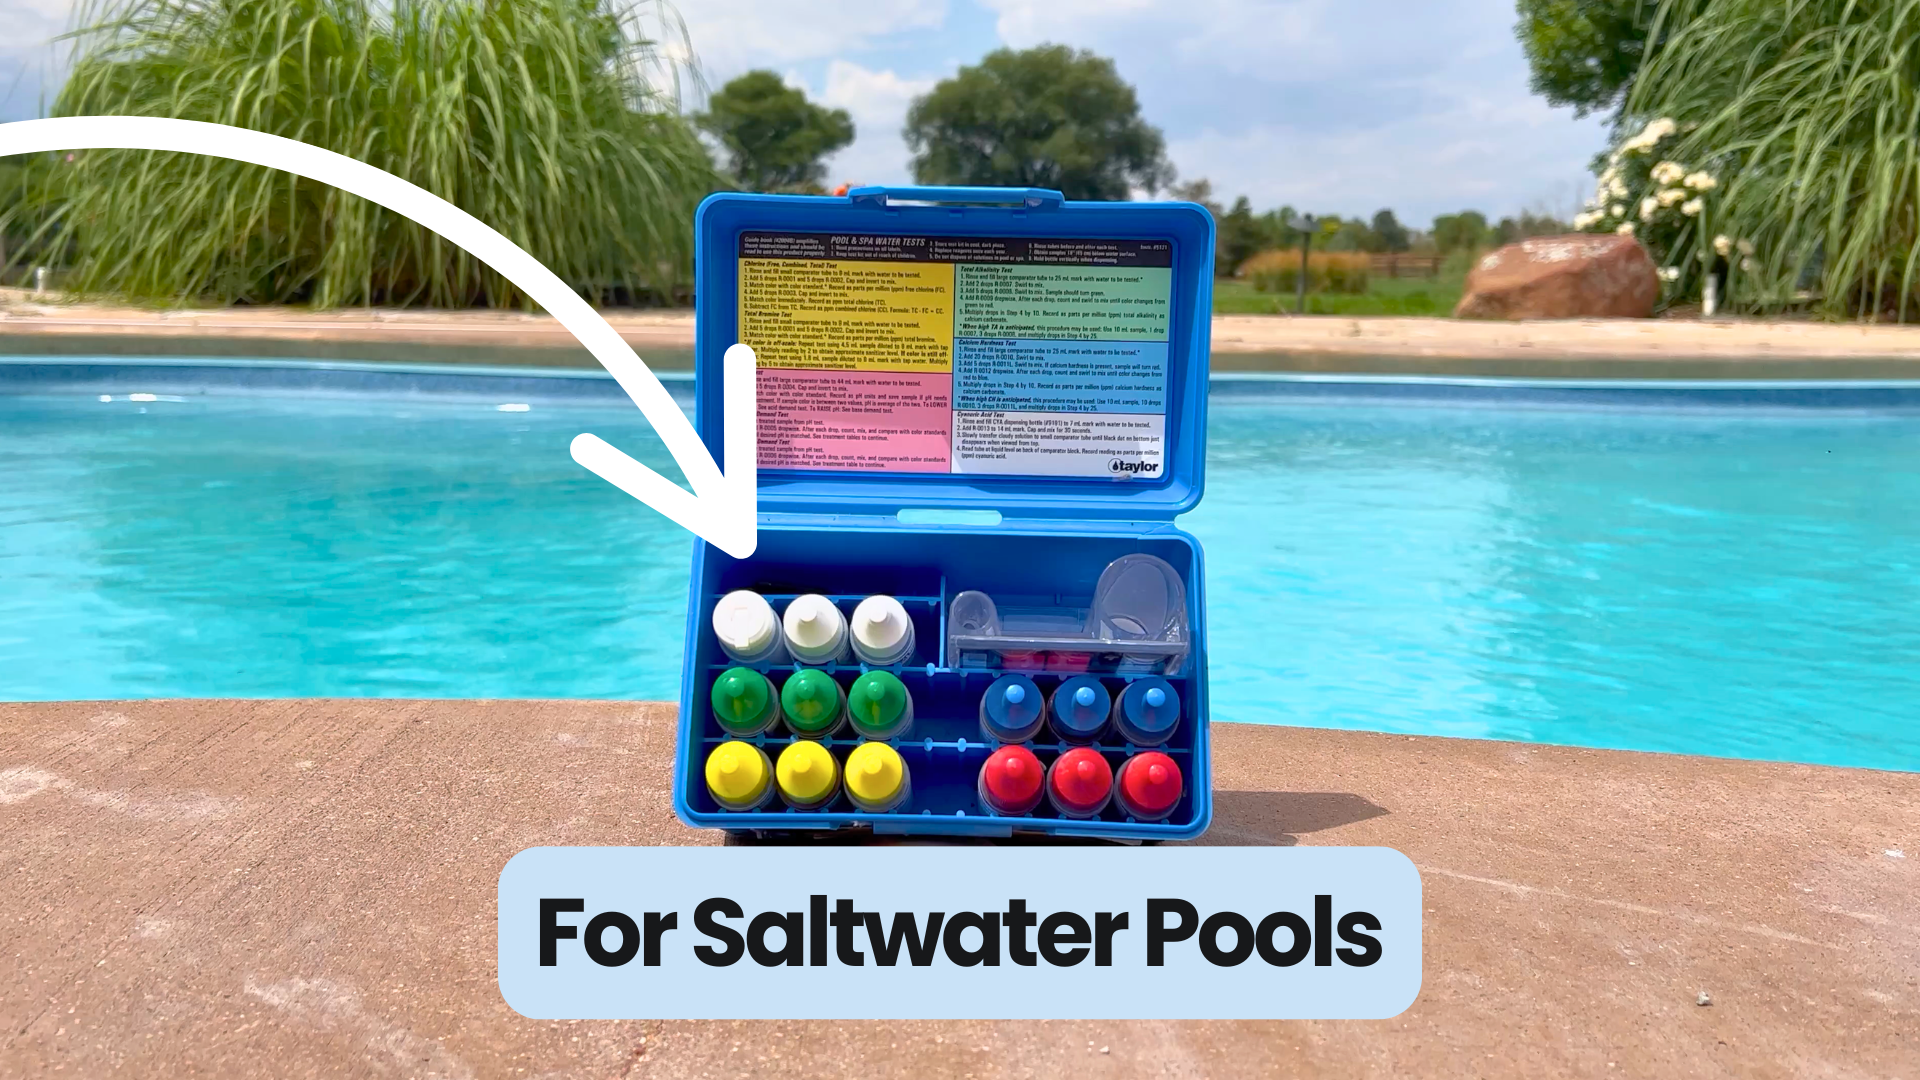
Finally, use an at-home salt test or a digital salinity reader to confirm that your salt levels are within the manufacturer’s recommended range. Our favorite salt water test kits can be found here. If everything checks out, flip on your salt cell and you’re officially running a salt water pool.
Should You Convert to a Salt Water Pool?
A salt water system isn’t the right fit for every pool. Here’s a quick look at both sides before you commit.
Pros of Switching to Salt Water
- Easier maintenance. The generator produces a steady stream of chlorine automatically. No more refilling tablet feeders or handling concentrated chlorine.
- Gentler on swimmers. Most salt water pool owners report less eye and skin irritation compared to traditional chlorine pools. It also won’t dry out your hair or bother your pets.
- No strong chlorine smell. Chloramine odors that cause that harsh chlorine smell are much less of an issue with a salt water system.
- Smooth, comfortable water. The water in a salt water pool tends to feel softer and silkier than a traditional chlorine pool.
- No salty taste. Your pool won’t taste like the ocean. Most salt water systems run between 2,500–3,500 ppm. Salt only becomes detectable to your taste buds at around 5,000 ppm. The ocean, for comparison, is around 35,000 ppm.
Cons of Switching to Salt Water
- Higher upfront cost. The generator, installation, and initial salt add up quickly. And replacing the cell every 3–5 years adds ongoing costs down the road.
- Salt corrodes metal. If your pool has metal walls, railings, ladders, or an automatic cover with metal tracks, salt can accelerate corrosion and cause serious damage over time.
- Salt wears down plaster. If your pool has a plaster surface, salt will wear it down faster than normal, which means more frequent resurfacing.
- Warranty concerns. Some pools and equipment are not compatible with salt water systems. Converting your pool could void your manufacturer’s warranty. Read the fine print carefully before you start.
Salt Water Pool Maintenance Tips
Once you’ve made the switch, there are a few key habits that will keep your system running smoothly.
- Test free chlorine every week. Your generator should display chlorine levels, but verify it manually with test strips or a liquid test kit. Aim for around 3 ppm of free chlorine.
- Monitor your pH weekly. Salt water generators naturally raise pH levels. High pH (above 7.8) can cause eye and skin irritation and scaling on equipment. Use
pH decreaser or muriatic acid to bring it back into range. - Test salinity once a month. Don’t rely solely on the generator’s reading. It can give false numbers. Use a digital salinity reader or salt test strips to verify manually.
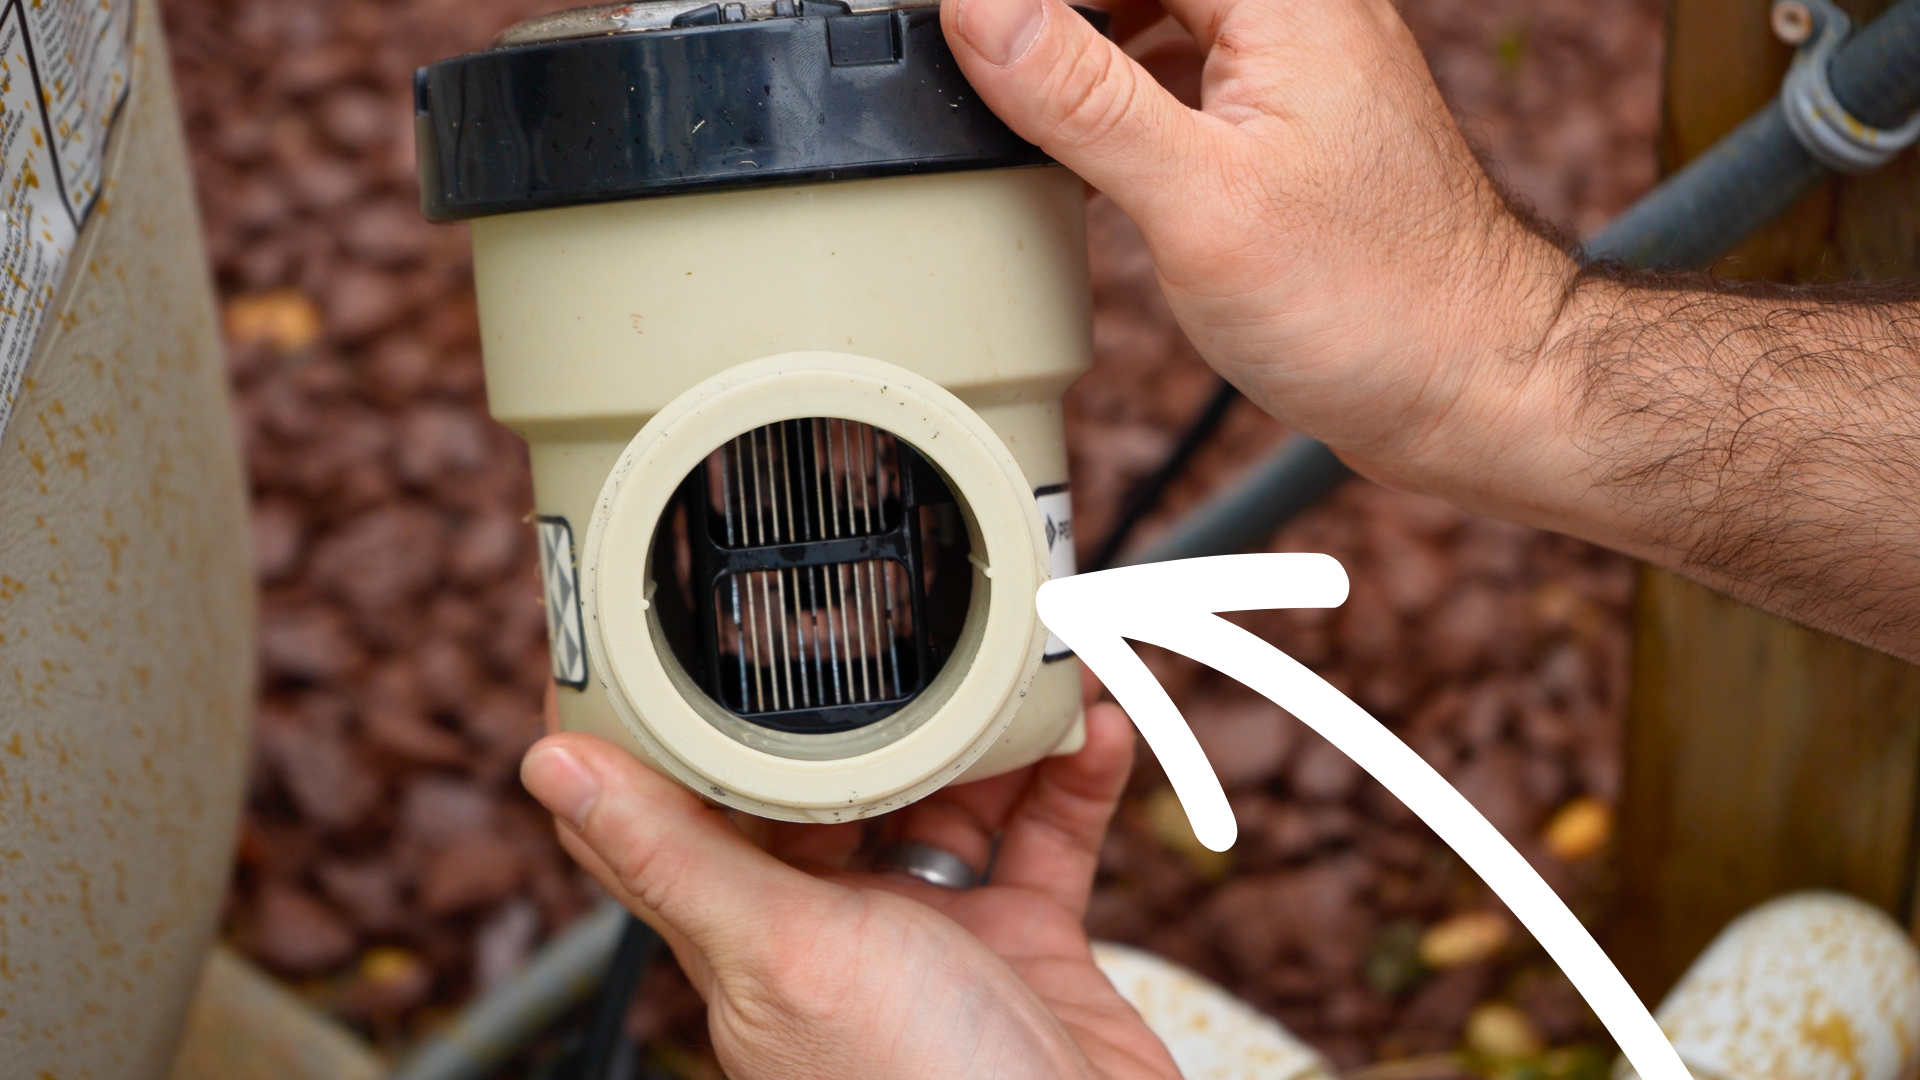
- Check and clean your salt cell every 3 months. Calcium builds up on the metal plates inside the cell over time. Turn off the generator, remove the cell, and inspect the plates. Rinse with a hose to remove loose deposits. If buildup remains, soak the cell in a 5:1 solution of water to muriatic acid for about 10 minutes. Wear protective gear, and never pour the leftover acid solution down your drains or on the ground.
- Hose down the pool deck regularly. Splash-out can concentrate salt on the surrounding area and erode stone, wood, and metal over time. Plants near the pool can also suffer if salt water regularly splashes on them. Concrete coping and stonework should be sealed or at a minimum rinsed after use.
- Avoid cal-hypo shock. Calcium hypochlorite shock can cause calcium buildup inside your salt cell. Use dichlor granular shock or liquid chlorine instead.
- Add a zinc sacrificial anode. If your pool has metal components like ladders or heater elements, a zinc sacrificial anode can help prevent corrosion caused by the salt water.
Key Takeaways
- You don’t need to drain your pool to convert. Since salt water pools still use chlorine, the switch is more of an upgrade. Balance your water first, install the generator, then add salt.
- Budget between $1,000 and $2,500 for the full conversion. That covers the salt chlorine generator, initial salt, and installation costs. Plan to replace the salt cell every 3–5 years.
- Not every pool is a great candidate. Metal components, plaster surfaces, and certain pool warranties can all be affected by salt. Check your pool’s construction and manufacturer guidelines before you commit.
- Balance your water chemistry before you flip the switch. Get your total alkalinity, pH, chlorine, CYA, and calcium hardness all dialed in before starting the system. The ideal salt level to target is around 3,200 ppm.
- Salt water pools still need regular maintenance. Test free chlorine and pH weekly. Check salinity monthly. Clean your salt cell every 3 months to prevent calcium buildup.
- Avoid cal-hypo shock in a salt water pool. It causes calcium buildup inside the salt cell. Stick to dichlor granular shock or liquid chlorine instead.