How to Open an Above Ground Pool in 11 Steps
If you own an above ground pool, your thoughts are probably never far from the sun and fun of pool season. But before you can enjoy your pool, you’ll need to open and prep it. You could pay someone to do it for you, of course. But why P-A-Y when you can DIY?
Once you learn how to open an above ground pool, the process will become easier every year. All you need is a friend, the right supplies, and a little elbow grease, and you’ll be swimming again in no time.
Stop wasting time and money with confusing water chemistry and maintenance. Our effortless system guarantees to keep your pool balanced, sanitized, and crystal clear all year. Works for all pools including saltwater.
Why You Need to Know How to Open an Above Ground Pool
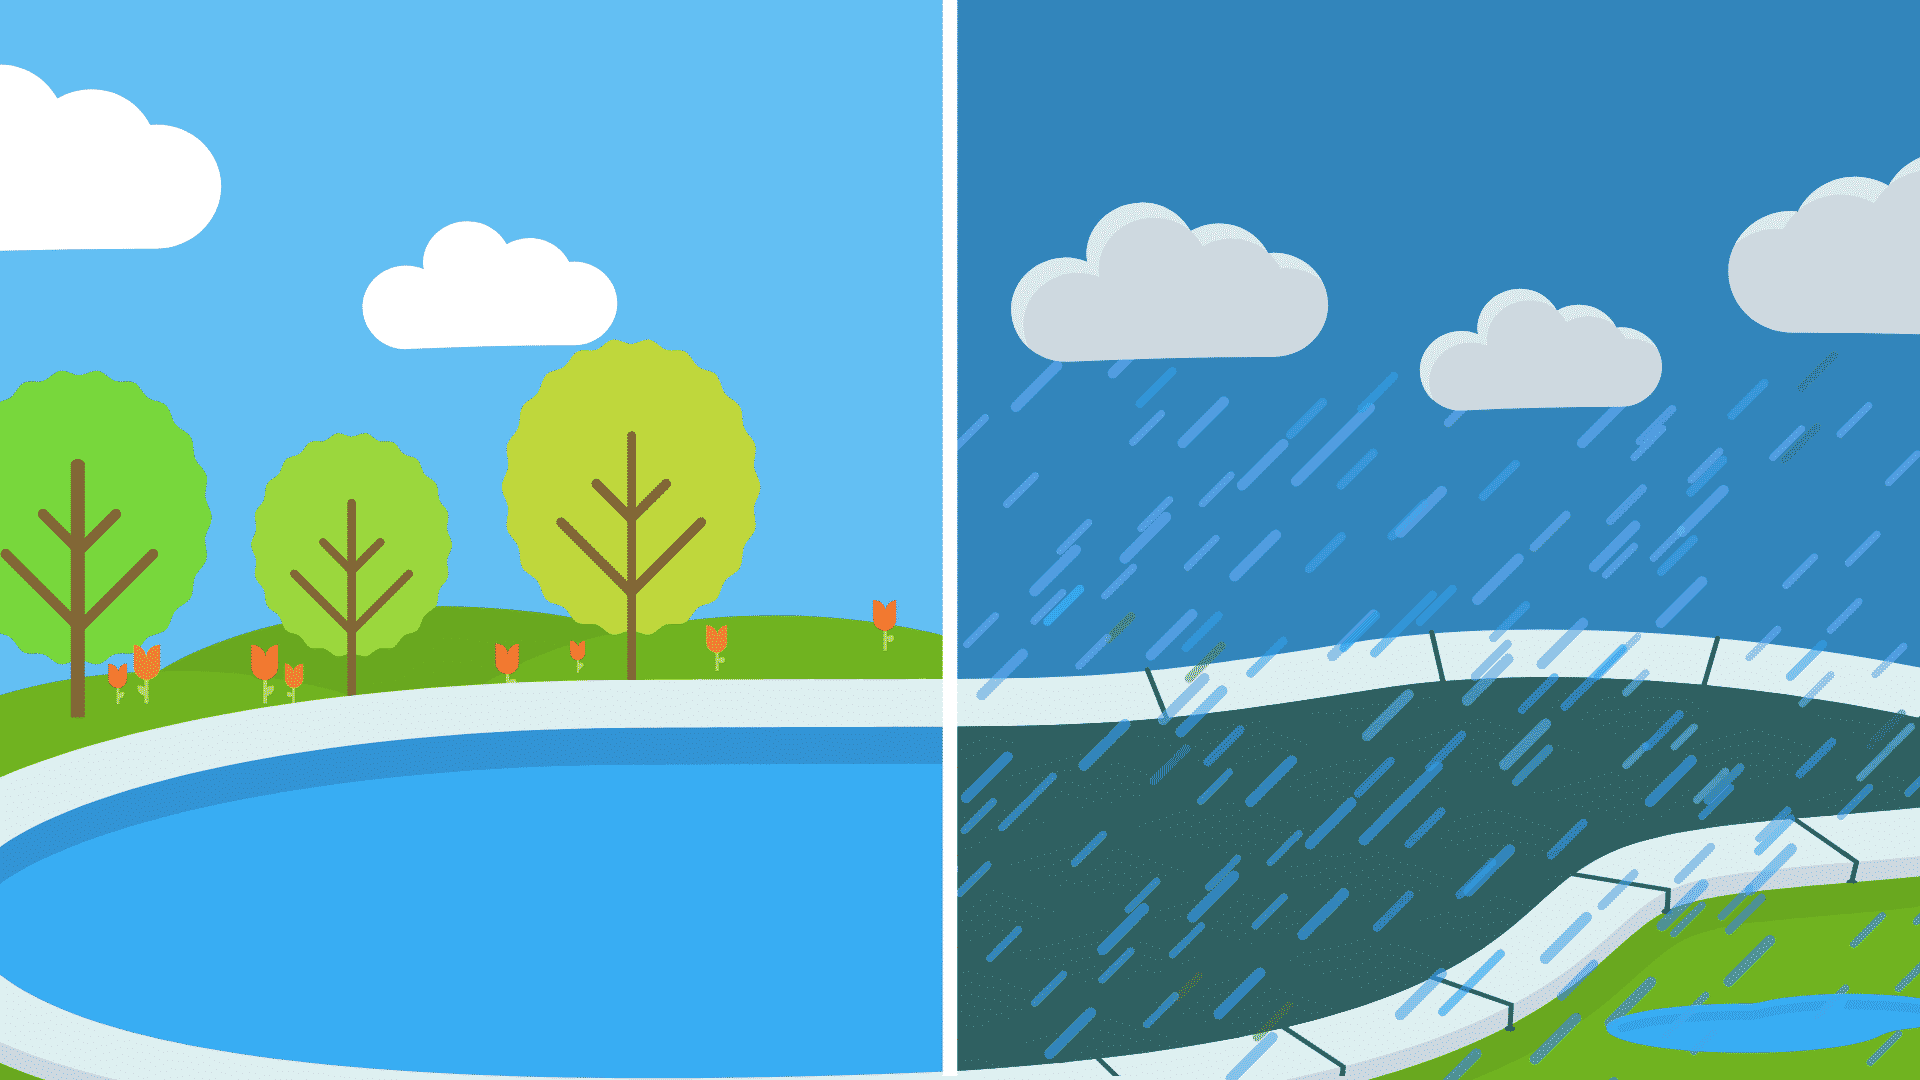
Your pool’s been covered all winter. As convenient as it would be to just pull the cover off and dive right in, think for a minute—that water’s been sitting there, stagnant, all winter long. Do you really want to submerge yourself in that? Didn’t think so.
Knowing the above ground pool opening process will ensure that when you do finally get back into the pool, it’s in clean, clear, non-swampy water.
What You Need to Open Your Above Ground Pool
The basic supplies for opening your pool are probably already at hand in your pool shed. Except your friend, of course. Please don’t store friends in your pool shed if you plan on keeping them as friends.
NOTE: The following links are affiliate links which means if you click a link and make a purchase, we earn a commission at no additional cost to you. It helps us keep the lights on 💡
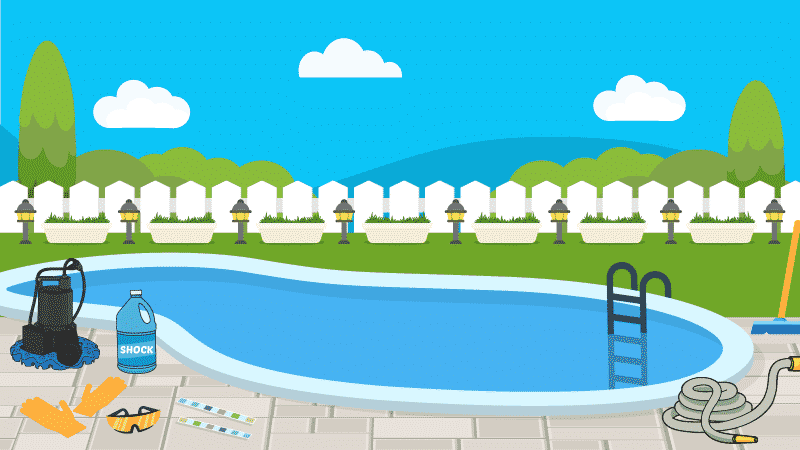
You’ll need:
- Pool cover pump
- Soft broom or skimmer net
- Winter cover cleaner or car wash soap
- Start-up chemical kit
- A friend to help

1. Clear Your Winter Pool Cover
Whether you have a pool safety cover or a winterized cover, your first priority is removing a winter’s worth of water, leaves and debris. A submersible pool cover pump makes short work of any excess water. You can also use a regular sump pump if you don’t have a pool cover pump.
To remove leaves and other debris, use a Soft broom or skimmer net. Use a gentle touch. Sharp equipment or overly enthusiastic sweeping can damage your cover.
Try to remove as much of the debris as you can. The more crud you remove now, the less you have to worry about falling into the water when you remove the cover.

Set it and forget it! The built-in iSwitch technology turns the pump on and off by sensing the presence of water and includes automatic freeze protection to prevent damage during the winter.
2. Remove Your Winter Pool Cover
Once you’ve tidied things up, with your friend’s help, carefully remove the cover. Don’t drag it, and take care to keep any lingering debris from falling into the pool.
A little dirt and debris falling into the water isn’t the end of the world. But thinking ahead can save you headaches later when you break out your chemicals and tools in pursuit of a truly clean pool.
If you’ve installed a pool air pillow with your cover, be sure to remove it along with your cover. You can deflate the air pillow once it’s safely out of your pool.
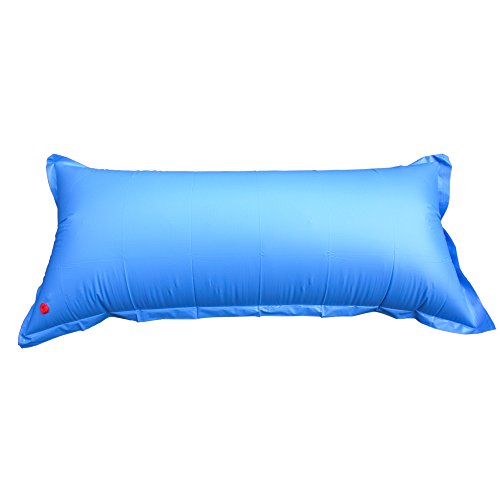
This air pillow absorbs pressure caused by ice expansion, protecting the swimming pool walls from damage during the winter months.
3. Clean and Store Your Winter Pool Cover
Find a large, easily accessible area like your lawn, deck, or driveway, and spread the cover flat. Make sure the area’s clear of sharp objects and other potentially damaging items.
Wash your cover with water, cover cleaner (or car wash soap), and a scrub brush or soft broom.
Scrub it thoroughly, but gently. You’ll ensure a longer life for your pool cover, which can save you quite a bit of money since you won’t have to replace it. Make sure you allow your cover to dry thoroughly before storing it to avoid damage from moisture and mold.
Stash your winter cover in a durable, tightly sealed plastic tub or other large storage container during the off season. This will keep rats and other critters from making a nest in your expensive cover or, worse yet, chomping it into tiny bits.
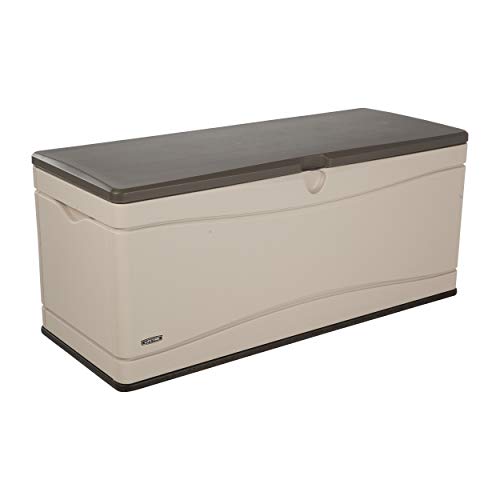
Perfect for storing pool maintenance equipment like cleaners, nets, brushes, hoses, and more. Also great protecting your pool gear from the sun and critters all year long.
4. Remove Winter Pool Plugs and Ice Compensators
With the cover safely stashed or drying in a sunny place, you can start removing winterizing pool plugs. Carefully check all around your pool, and remove the plugs from all openings, including the return jets (also called eyeball fittings) and skimmer bucket.
If you use an ice compensator in your skimmer bucket, be sure to remove that, too.
Reinstall all your skimmer baskets and return jets into the return line. If you used a skimmer plate (also called a skimmer cover) over the winter, make sure you remove it.
A skimmer plate is designed to keep water out of your skimmer during the winter while allowing you to keep your pool filled. Once it’s gone, water can flow easily when you reactivate your pool’s filter system.

We recommend using a skimmer plate when winterizing your pool to prevent water from entering your plastic skimmer, freezing, and cracking. This is a Tupperware-like cover that's easy to take on and off when needed.
5. Add Water To Your Pool
Depending on how you closed your pool, you may need to add water to reach the proper level. When you add water, use a hose filter to screen out impurities, and make sure your pool is filled to the halfway mark of your skimmer’s opening.
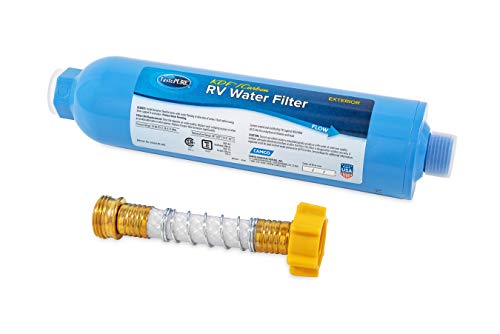
Fill your pool or hot tub with this hose filter that'll filter your water so you can have a fresh start with water chemistry.
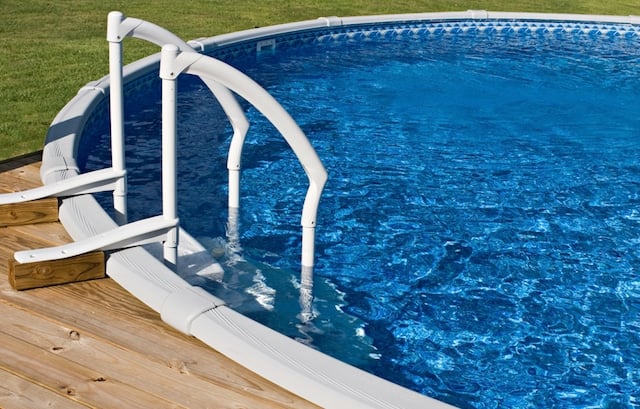
6. Reinstall Your Deck Equipment
This might seem like a page from How to Open an Above Ground Pool 101, but you’ll need to reinstall your deck gear to use your pool. This includes ladders, steps, or lifts.
Double-check each component for rust or other damage. If anything seems flimsy, damaged, or worn out, now’s the perfect time to replace it.
7. Set Up Your Pump, Filter and Other Equipment
You’ll need to bring your pool’s hardware back to life after a long winter’s slumber. The mad scientist goggles and lab coat are optional.
First, put back all the plugs to the drains and pressure gauges to your pool filter system, pump, and other equipment.
Next, attach your system’s hoses to your equipment, and double-check the connections.
- Connect the skimmer to the pool pump.
- Connect the pump to the filter.
- Connect the filter to the heater, chlorinator, and any other extra filter equipment. If you don’t have any, attach the hose directly to the return inlet.
If you have a multiport valve, make sure it’s turned to the filter position.
8. Start Your Pump and Filter
Fire it up! Make sure the system starts, and check for any leaks or drips. Don’t forget to make sure the ground wires are properly connected to the pump.
If you find your system is running dry, you may need to prime the pool pump. You can do this by shutting off your filter system, removing the pump lid, and adding water from your garden hose or a bucket of pool water.
This will give the pump the boost it needs to start pulling water. Put the pump lid back on, tighten it up, and restart the system.
Whether your filter uses sand or the tiny fossilized organisms known as diatomaceous earth (DE), backwash it after you start your filter system up. The differences in technique between how to backwash a sand filter and how to backwash a DE filter are small but important. The biggest difference is adding DE after you backwash filters that use it.
Always follow your manufacturer’s instructions when backwashing any filter.
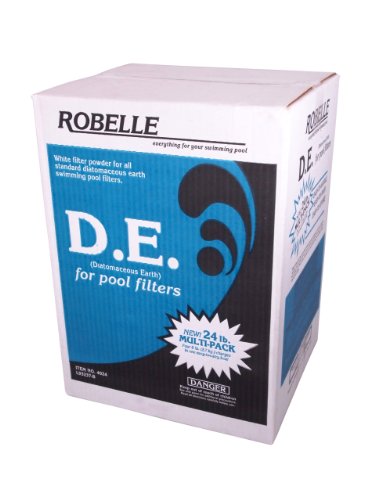
Filter media for backwashing and cleaning D.E. pool filters.
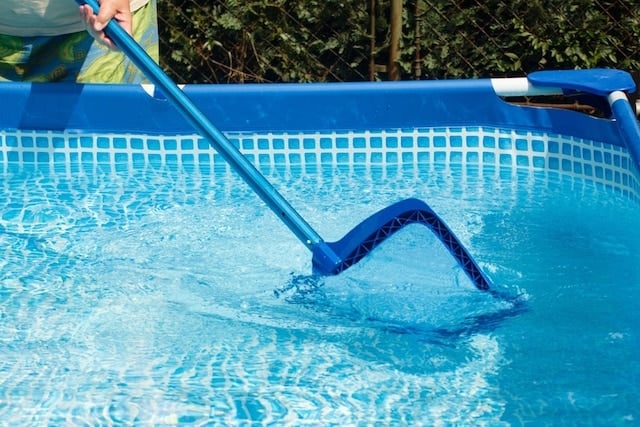
9. Clean Up Your Pool
If you’ve reached this stage and you have a pristine, sparkling pool, you can proceed with opening it. But, since you probably don’t have magic elves helping you in their spare time, you’ll probably need to get your hands dirty.
Your pool must be clean before you can add any start-up chemicals. Brush your pool, including the walls and any hard-to-reach nooks and crannies. While you’re at it, vacuum the pool, too. The floors need love and scrubbing after a long winter.
If the friend you recruited is still around, they’ll probably be happy to help in exchange for a free pool pass during the summer.
Once you’ve finished cleaning the pool, skim the surface of the water to collect any floating leaves, bugs, or other debris that may have snuck in while you’ve been busy doing everything else.
10. Add Start-Up Chemicals
Having brushed your pool, it’s time to brush up on your chemistry. Break out your test strips or liquid test kit, and test your pool water to make sure all the chemicals are properly balanced.
If you’d rather not do it yourself, or if you just want to establish a baseline reading to follow through the rest of pool season, you can take a sample of your pool water to your nearest pool dealer and have them test it for you.
How to Shock Your Pool
Once you’ve got your water balanced, you’ll want to shock your pool.
Use 2 pounds of pool shock for every 10,000 gallons of pool water, or 5 gallons of liquid shock for every 20,000 gallons of pool water. This is a double shock, using twice the normal amount. This will give your pool a sanitizing whammy to make sure the water’s ready for swimming.
Important: Don’t forget to shock at night or at dusk to keep sunlight from burning off the shock too quickly.

This fast-acting, quick-dissolving swimming pool shock kills bacteria, controls algae, and destroys organic contaminants in pools.
11. Get Your Pump Running
After you’ve got everything ready, let your pool pump run for at least 24 hours. Vacuum out any debris that appears. Retest your pool water, and if the results are where you want them to be, grab your swimsuit and jump in!
Understanding how to open an above ground pool makes jumpstarting your pool season a lot easier. As you’re going through the opening steps, take a little time to create a pool maintenance schedule to keep things running smoothly all season.
Just be sure to make some time to enjoy all your hard work. Or what’s a pool for?
Happy Swimming!
4 Ways We Can Help With Your Pool
- Pool Care Cheat Sheets (Free): Easy-to-use downloadable guides to help you keep track of taking care of your pool this year.
- The Pool Care Handbook: An illustrated guide to DIY pool care, including water chemistry, maintenance, troubleshooting, and more.
- The Pool Care Video Course: You’ll get 30+ step-by-step videos and a downloadable guide with everything you need to know about pool maintenance.
- The Pool Care App: Enter your water test results. Get a custom treatment plan. Know exactly what chemicals to add to keep your pool clear.