The Complete Guide to Above Ground Pool Liners
It’s finally here. The day you walk outside and realize your above ground pool liner has become a mosaic of patches and quick fixes. And not in a pretty design, either. It’s time to give in and get a new liner.
When you bought your above ground pool, it likely came as a package—the frame, the liner, and maybe even the pump, ladder, and cover. You didn’t have to make any decisions about those individual components. So how do you choose a replacement liner? And how do you care for it to make it last longer? It’s just a matter of learning some terminology and a few maintenance tips, and you’ll be back to backstroking in no time.

This is the ultimate guide to keeping your pool sparkling clean throughout the year that contains everything you need to know about taking care of your pool the right way. Including saltwater pools.
Above Ground Pool Liners: Hard Side or Soft Side?
First things first. Soft-sided pools, such as Intex pools, are made of a single piece of material that serves as both liner and pool walls. That’s not what we’re talking about here.
Hard-sided above ground pools use liners. They offer some support to the liner, so the vinyl doesn’t need to be quite as heavy duty as it is for a soft-sided pool. Unfortunately, the reduced durability can make the vinyl more vulnerable to damage, which eventually leads to the need to replace the liner.
Is It Time to Replace Your Liner?
If it’s more patch than pool, yeah, it’s probably time to replace that above ground pool liner. But a lot of factors can speed the need for replacement.
Sun Damage
The longer your pool spends out in the sun, the more potential for liner damage. The sun’s ultraviolet (UV) rays may not only bleach it, but can dry out the part of the liner above the water level, leaving it weak and brittle.
Too Much Chlorine
More isn’t always better, especially when it comes to chlorine. Too much chlorine in your pool can weaken the liner over time.
Lawn Mower Projectiles
No matter how careful you are, sometimes when you’re mowing your lawn, something ends up flying. If the debris hits your pool, it can tear the liner.
Windy, Rainy Weather
Nothing is as hard on your pool as the weather. Maybe you get a lot of thunderstorms, or maybe you even live in an area prone to tornadoes and hurricanes. Those events can throw tree limbs and other debris into your pool, damaging above ground pool liners. Or, you know, just taking the entire pool out.
Old Age
Just like anything else in life, above ground pool liners become brittle over time. It’s just part of the aging process we all go through.
Expansion and Contraction
Heat and cold have the same effects on all matter: expansion and contraction. It’s just science. And this applies to vinyl. Years of expanding and contracting can create weak spots in your liner, which can lead to leaks.
Got a Leak? Good Luck With That
Don’t get us wrong. Leaks in above ground pool liners are super easy to fix, and it’s always good to know how to patch a pool liner. Just Get a repair kit and you’ll be swimming again before you can say Marco Polo. The challenge is finding the leak.

A peel-and-stick or glue-down patch kit that fixes pool leaks and tears underwater without draining, giving you a strong, long-lasting repair with no extra tools needed.
Unless it’s a huge, obvious gash pouring water into your yard, finding a leak in an above ground pool is notoriously difficult. If you want to take a shot at finding the pool leak, you can try the bucket test. But finding a tiny leak in an above ground pool is so challenging, it may take you less time to get a new liner and install it.
How to Choose a New Above Ground Pool Liner
When you’re looking for a replacement liner, you’ll find four basic styles. They differ in how they attach to the pool.
Overlap Liner
As its name suggests, an overlap liner folds over the pool wall. It’s then clipped into place with coping strips These above ground pool liners can be a bit tricky to install properly, but they’re typically the most economical option.
Beaded Liner
Also called snap bead and standard bead liners, these are designed with a bump running around the top edge, which is tucked into a special track on top of the pool wall. You can get conversion kits to switch your overlap setup to a beaded one.
J-Hook Liner
A simpler installation than overlap and beaded above ground pool liners, a J-hook liner has a thick rubber fold running along the top edge.
Also called J-bead and V-bead due to the shape of that rubber fold, it’s slipped over the top edge of your pool wall. It doesn’t require coping strips to stay in place. Just install the top rails right over it.

Universal Bead
One style of liner can be installed on any setup you have—the universal or unibead liner. This style is shaped like a J-hook, and can be installed the same way.
If you have a beaded liner track, just trim off the top edge of the unibead, and it works just like a standard beaded liner. It’s designed so trimming is easy, too. Snip just above the beaded part and peel the top strip away with your hands.
Two other styles of universal liners differ slightly, but can also be used for either type of installation.
The duo-bead features a folding flap so it can be installed in either setup without trimming. Leave it folded to use in a beaded track, or fold open the flap to use as a J-hook.
The EZ-bead liner has a J-hook shape, but with a thick track for beaded use on the outside of the flap, so no alteration is needed to use it in either type of installation.
Brand-Specific
In addition to the four standard types of above ground pool liners, some pool brands have slightly altered the bead and receiving tracks so you must buy their brand liners for the best fit. Kayak, Esther Williams, and Wilkes are three such brands.
This isn’t necessarily bad, but it’s something to be aware of when shopping for above ground pool liners that will work with your setup. Other brands that don’t make pools do make liners to fit those picky brands, though.
How Do You Measure Durability?
No industry standard exists for precisely measuring the strength of pool liners, but the thickness can give you a sense of durability.
Very thick liners can be cumbersome to install and tougher to get wrinkles out of. Poor fit or installation mistakes can affect your vinyl as well, so the thickest liner around may be only as good as its installation.
Two units of measure refer to the thickness of above ground pool liners (and any vinyl, really): mil and gauge.
How Much is a Mil?
The standard United States unit of measure for one-thousandth of an inch is a mil. It comes from the Latin mille, which means thousand.
Typically, above ground pool liners measure 20 or 25 mil. For a little context, a dime measures 49 mil while a standard sheet of paper measures just 10 mil.
How is a Liner Gauged?
Because gauge isn’t standardized in the pool industry, one 25 gauge liner could measure 25 mil, while another could be 22 mil. Gauge sizes differ between manufacturers, too. The difference is usually slight, though.
If you stick with respected pool brands and pay careful attention to size and fit, the difference is unlikely to affect your pool liner’s lifespan. But for a more accurate idea of an above ground pool liner’s strength, you’re better off looking for the mil measurement.
What’s Under the Above Ground Pool Liner?
Whoa, there! Before you just throw a new liner in the pool and call it good, make sure you also get a hiqh-quality liner pad. It’s a protective layer that goes between the ground and the pool liner. It helps prevent punctures and lumps you’d get if the liner were just sitting on bare ground.
Liner pads are made from two materials.
Foam Liner Pad
Rolled out in strips and trimmed to fit under the pool floor, foam pads are best for retaining heat and keeping the pool floor smooth, soft, and comfortable to walk on.
Geotextile Liner Pad
Usually a single sheet of durable polyester-based material, sometimes with seams, geotextile pads are precut, but may also be trimmed to fit your pool. They’re best for preventing lumps, nutgrass growth, and mildew-causing moisture.

A thick, protective pad that goes under your above ground pool to guard the liner from rocks, roots, and sharp objects while blocking weeds.
And Then There’s Coving
The bottom of an inground pool doesn’t have sharp corners where the floor and walls meet. Instead, it’s a gentle slope. To create this same effect in an above ground pool, you’ll use coving. It’s usually made of foam, and attaches to the pool wall.
The liner pad can go under or over the coving, and then the pool liner sits on top of both. You don’t have to use coving in your pool, but it can help protect your liner from stretching, wrinkles, and any damage that could be caused by the liner being wedged into a tight corner.

Measure Twice, Buy Once
All you need to determine which size liner your pool requires is a tape measure and something to write down your measurements. Because pool walls can warp and shift, take each measurement twice.
To get the height of any shape above ground pool, measure from the bottom rail to the top. Remove any obstacles from the ground to ensure an accurate measurement.
Check your result by measuring the height on a second section of wall. If the figure is between standard liner heights, round up.
Round Pools
Measure straight across the inside of the pool at the top. Walk a quarter of the way around your pool, then measure straight across from there. These figures should be the same. If not, choose the largest. Round up if it falls between standard liner sizes.
Oval Pools
Measure inside the pool from rounded end to rounded end for thelength figure, then from straight side to straight side for the width. Measure width at two different points, and round up if necessary.
Rectangular Pools
Measure length and width, in two different spots each. Note your pool’s corner shape.
Important: Remember to measure from inside the pool walls, not from the outer edge or top rails.

How to Install an Above Ground Pool Liner
How you attach your new liner will depend on which type it is. The rest of the installation will be the same, regardless of liner type.
To prevent a wall collapse, only drain your pool when you’re ready to install the new liner. Remove any remaining water with a pump or dig a small hole below the wall at the lowest edge of your pool, then cut open the liner at the hole, and allow the water to run out.
Now you’re ready to install the new liner!
You’ll Need:
- New pool liner
- Liner pad (either material)
- Coving, optional
- Clean sand (if needed)
- Utility knife
- Screwdriver
- Adjustable pliers
- Push broom
- Tamper (or other soil-compacting tool)
- Rubber mallet
- Shop-Vac
- Duct tape
- Gaskets for skimmer and return

Available in a 50-pound bag, this sand is ideal for starting or refreshing play areas and also suitable for landscaping, zen gardens, arts and crafts, reptile habitats, and more.
1. Remove the Old Liner and Accessories
Keep the top rail installed so it stabilizes the pool walls. Remove the skimmer and return, using a screwdriver and pliers.
Using a utility knife, cut the liner a few inches below the top rail. Cut the liner into smaller pieces, so it’s easier to remove and discard.
Remove the liner pad and coving, if you have them, so you’re left with bare sand or dirt inside the pool walls. If you dug a hole to drain excess water, fill it in now.
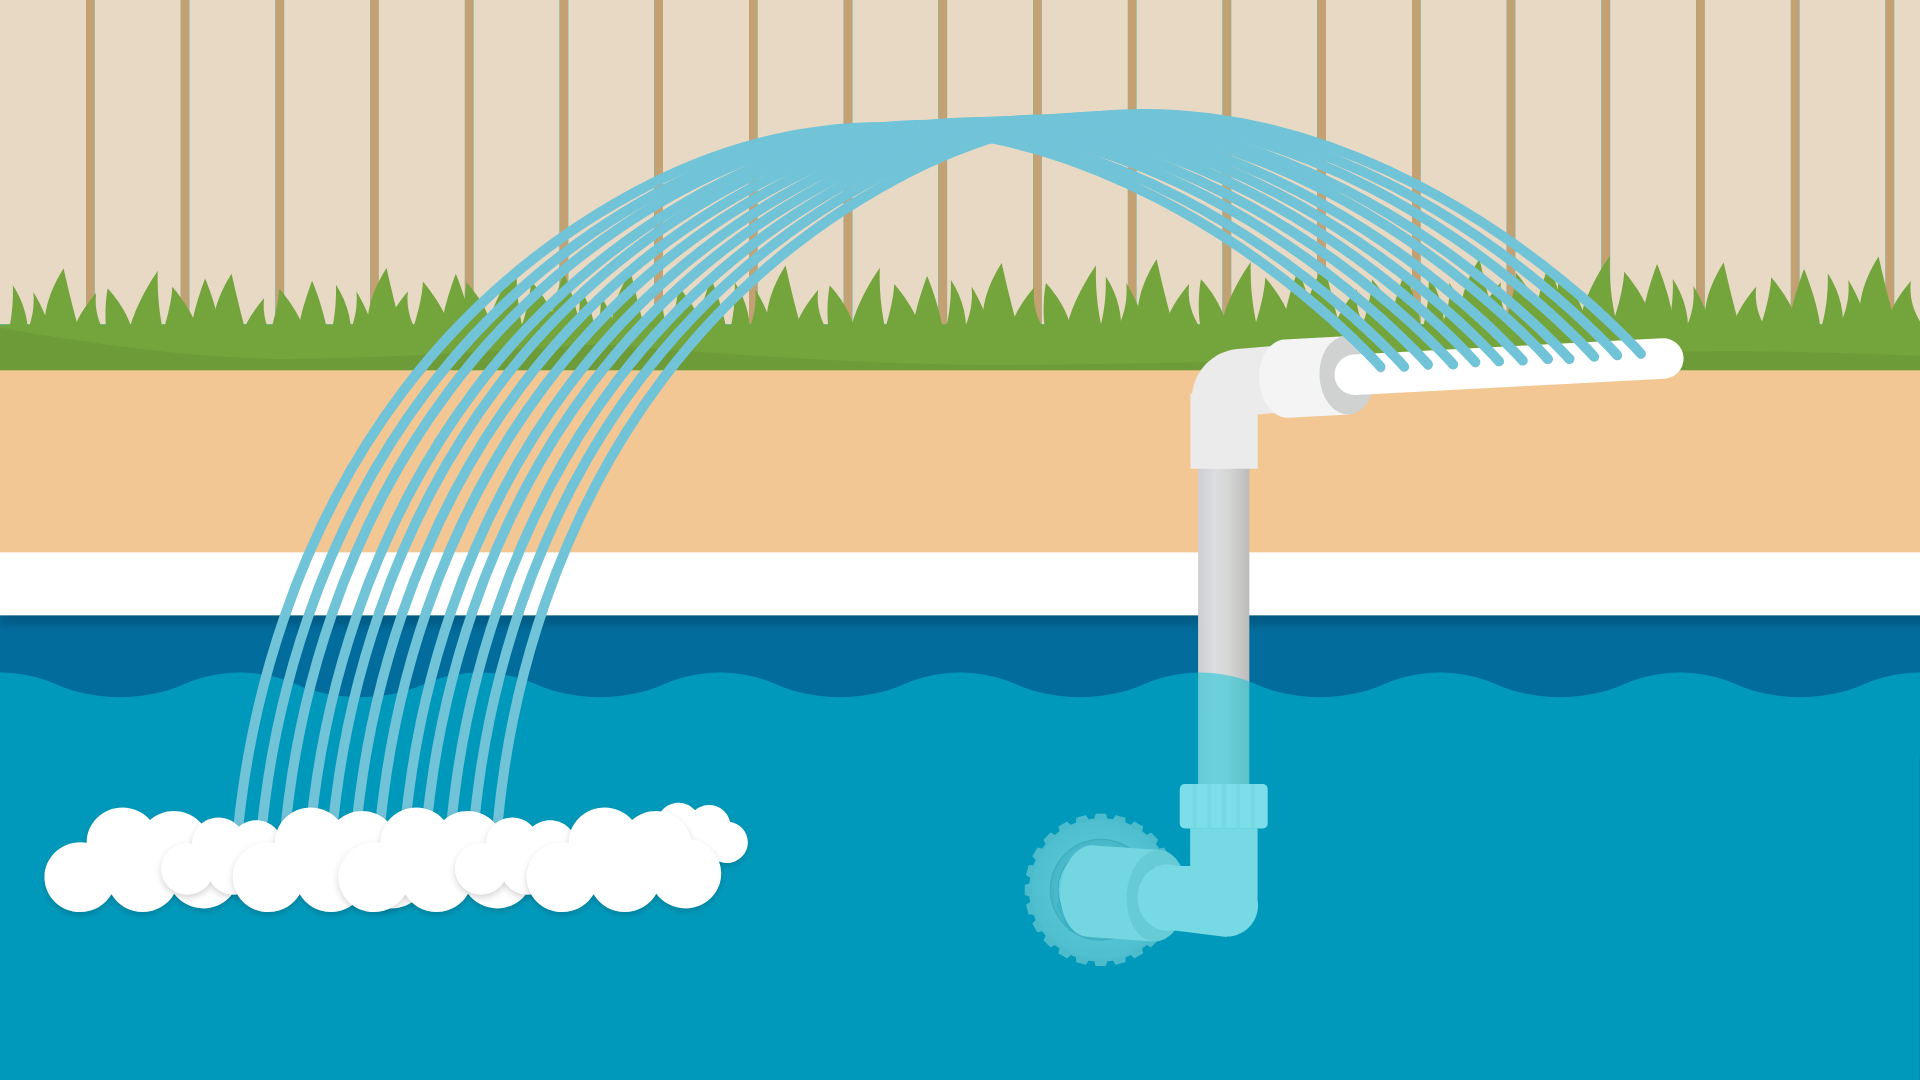
2. Attach the Shop-Vac
Slide the vacuum hose into the skimmer opening and down the side of the pool until it’s about six inches (15 centimetres) above the ground. Use the duct tape to secure the hose and seal the opening. Tape the return closed.
3. Add and Smooth the Sand
If you used sand previously, check whether there’s still enough to support the bottom of the pool. If not (or if you don’t have any at all), lay enough sand to create a 3-inch bed across the entire inside of the pool.
Level the sand bed using a push broom, then pack it down with a tamper. If you don’t have a tamper, you may be able to rent a soil compacting tool from a local hardware store.
4. Install the Liner Pad
Follow the manufacturer’s installation instructions for the liner pad you chose. Wear only socks when walking on the pad (and liner) to avoid damage.
5. Place the Coving
Adhere the coving to the pool walls, taking care not to leave any gaps between any of the pieces.
6. Unroll the Liner
Place the liner in the center of the pool, then unfold it, working outward. Find the seam on the backside of the liner (the side you won’t see once it’s installed) where the floor piece and wall piece attach, and pull it toward the coving.
7. Remove the Top Rail
The pool walls will be wobbly, but you must remove the top rail to install the new liner. Remember to remove the strip of old liner left underneath the rail.
If possible, remove and replace one section at a time to prevent the pool walls from collapsing. This step may be easier with the help of a friend or two.
8. Center and Hang
Adjust the liner as needed to get it centered properly. Begin hanging the liner, whether you’re draping it over the wall or setting it into a track.
Those friends will come in handy here again to help stabilize the pool wall while you work your way around, so tugging on the liner won’t collapse a wall. Use your sock feet to push the liner against the coving.
9. Replace Coping and Top Track
If you’re using an overlap liner, replace the coping. Tap down stubborn coping with a rubber mallet. Install the track, then secure the plates.
10. Turn on the Shop-Vac
The vacuum will remove the air from behind the liner and eliminate most liner wrinkles. As the vacuum runs, continue pushing the liner toward the coving with your feet, stretching the wrinkles out of the floor of the liner as you work your way around the pool.
11. Start the Water
When the liner is smoothed out, start filling the pool. Use the fill time to re-install the top rails, then the caps.
12. Remove the Shop-Vac
When the pool contains a few inches of water, shut off the Shop-Vac and remove the hose. Remove all the tape.
When the water is about 12 inches deep, replace the skimmer and return fittings using new gaskets.
13. Fill ‘Er Up
Go take a nap while your pool fills up. Just make sure someone’s keeping an eye on it.

A shop-vac is essential for removing water from your hot tub or pool for winterizing and general cleaning.
Water Care is Liner Care
You take care of the things you care about. You wouldn’t put grandma’s china in the dishwasher—at least, not after what happened last time. Your pool liner may not be as delicate as that china, but it still requires maintenance to prevent damage and extend its life.
Using too many harsh chemicals in your pool or letting it go to swamp at the end of each season may severely affect the integrity and longevity of your liner.
Keep your pool chemistry balanced for the health of the liner, your pool, and everyone who swims in it.
No one wants to hang out in swamp water. Except, of course, swamp monsters. But they’re not invited to your pool. To keep it clean, clear, and monster free, follow the correct steps to winterize your above ground pool every year.
How to Clean Your Pool Liner
Help your sanitizer work more effectively, prevent algae blooms, keep bacteria from setting up camp on your liner, and keep your water chemistry stable by properly cleaning your liner on a regular basis. And guess what? You don’t have to drain the pool first. In fact, you don’t want to drain the pool first.
Draining your above ground pool can leave the liner vulnerable to damaging ultraviolet rays. It may also affect the integrity of the walls, or even cause your pool to collapse. Unless you’re replacing the liner, don’t drain your pool.
When the time comes to replace the liner, be sure you know how to drain a pool before you start. You’ll save yourself a lot of headaches and avoid costly mistakes.
You’ll need a few things to keep your liner clean.
- Telescoping pole
- Pool brush with nylon bristles
- Vacuum head safe for vinyl liners
- Water testing kit
- Pool shock
1. Brush!
Time to attack those decay germs! OK, maybe just a little algae. Attach the brush to the telescoping pole. Use it to scrub the walls and floor of the pool. Don’t be afraid to put a little muscle into it, but remember you’re doing this to protect your liner—not to destroy it.

The wide pool brush with 360-degree reach helps clean hard-to-reach surfaces and tough crevices. Perfect for any type of pool, including vinyl liners, fiberglass, and painted concrete.
2. Vacuum
Once you’ve stirred up everything that was stuck to the pool walls, manually vacuum as much of it out as possible.
3. Balance the Water
Test the water and adjust chemical levels as necessary, ensuring it’s balanced before moving forward.

Tests for 7 important chemistries in seconds: Total Hardness, Total Chlorine, Total Bromine, Free Chlorine, pH, Total Alkalinity, and Cyanuric Acid.
4. Shock the Pool
Add the same dose of shock you use in your weekly water regimen. If you’ve got an algae problem, treat it now with a double dose of shock.

This fast-acting, quick-dissolving swimming pool shock kills bacteria, controls algae, and destroys organic contaminants in pools.
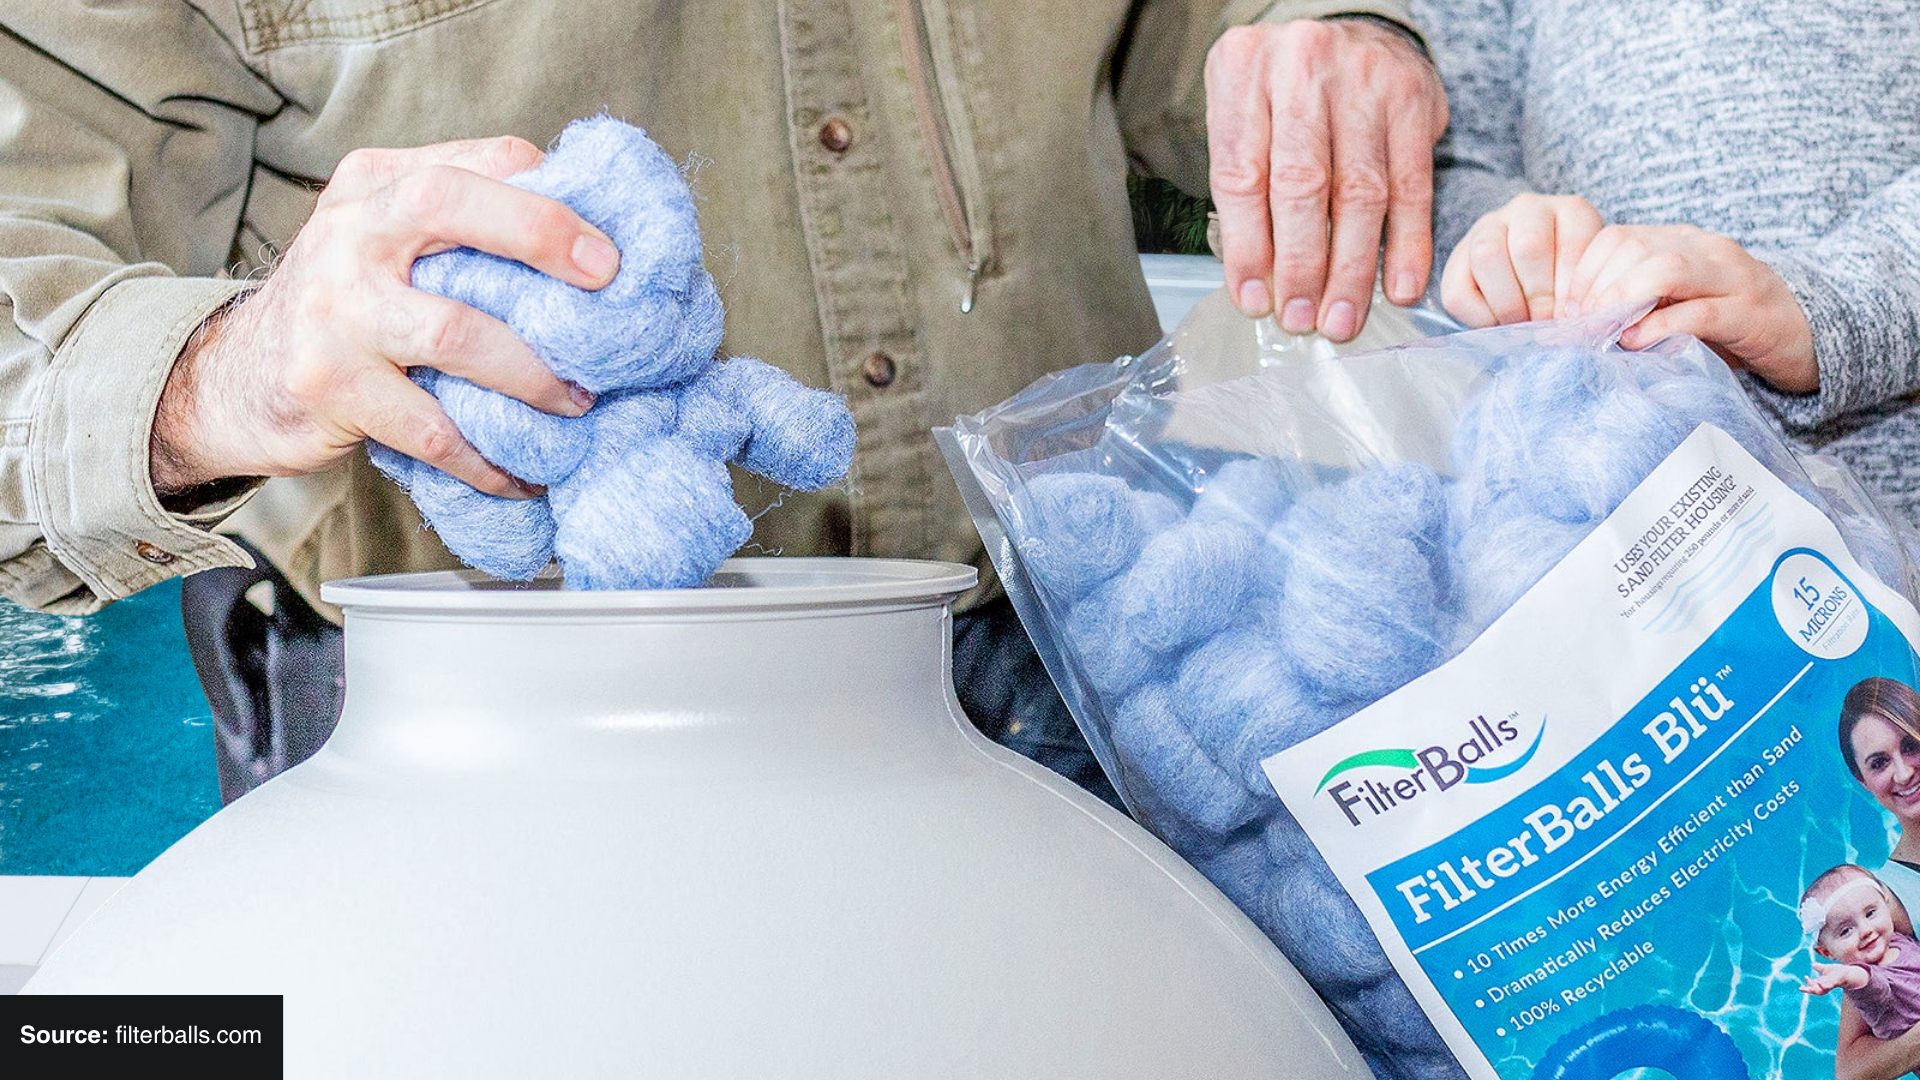
5. Filter Forever
Okay, really just run your pump for a few hours until the water clears. You’ll have shock, particulate contaminants, and dead bacteria clouding up your pool water until your filtration system can catch ’em all.
Whew! Installing above ground pool liners is hard work! You’ve earned some time relaxing in the pool. And you know, if this all seems a little overwhelming, don’t be afraid to hire a pro to replace the liner for you. What you spend on a quality liner might as well be thrown away if it’s not installed correctly.
And now that you know exactly what goes into replacing a pool liner, maybe you’ll give it a little extra TLC throughout the year to keep it in good shape. It’s the least you can do for something that gives you so much enjoyment, right?
Happy Swimming!