How to Drain an Inground Pool
Draining an inground pool isn’t as straightforward as it sounds. It’s not like draining a bathtub where you pull a plug, and the water goes down a drain where you don’t have to worry about its destination. You have other things to consider to avoid the dreaded pool pop.
So, take a little time to learn how to drain a pool so you’re ready for anything.

Stop wasting time and money on confusing water chemistry and maintenance. Our effortless system guarantees to keep your pool balanced, sanitized, and crystal clear all year. Works for all pools, including saltwater.
How to Keep an Inground Pool from Popping When Draining
If you live in an area with a high water table and completely drain your inground pool, it’s possible the pool will “pop.” Without the weight of the water pressing on it, the pool may be pushed up and out of the ground—literally. The risk is even higher if you drain your pool after several days of heavy rain.
An inground pool can pop regardless of type. Concrete, gunite, vinyl, fiberglass—they’re all at risk of popping when drained.
If it’s time to drain your pool, and you want to keep it from popping, consider draining just half the water from the pool and refilling it. The ability to do this will, of course, depend on your reason for draining it in the first place.
For example, if you need to repair the floor, you’ll have to drain the pool completely. If this is the case, you may want to consult a professional to avoid expensive damage to your pool. If you decide to move forward yourself, take a few extra precautions to help prevent popping.
1. Don’t Drain Your Pool in the Rain
A period of heavy rainfall is the absolute worst time to drain your pool. The ground will be heavy with water, which increases the risk of it pushing the pool up and out as you empty it.
Wait for dry weather. And not just a day or two of it. Give the ground time to dry out after it’s absorbed a lot of rain. Remember, just because the ground looks dry on the surface doesn’t mean it’s not still saturated several feet down around the sides and bottom of your pool.
2. Dispose of the Pool Water Correctly
If possible, drain your pool water to sewer cleanout in your yard. Letting those thousands of gallons of water spill out onto the ground around your pool will have the same effect as heavy rainfall. The ground will absorb the water, and the pressure on your pool will increase.
3. Direct the Drained Water Downhill
If possible, direct the drainage hose downhill from the pool. This is an extra precaution in case any drainage problems occur.
For example, if you’re draining into a sewer cleanout, you could run into a clog. Over time, the main drain line from your home will contain a buildup of residue. This can include grease, paper, and other waste that goes down all the drains in your home. You may not realize there’s a problem until you try to direct tens of thousands of gallons of water down the main drain.
This could cause the water to pool around the drain, and you have the same problem as if you’d just drained the water into the ground around the pool. Directing it downhill will help keep it away from the pool should you encounter any problems.
Note: If you’re concerned about a clogged sewer cleanout, and it’s been a while (or never) since you cleaned your home’s main drain, consider using a drain treatment before you drain your pool.
4. Open the Hydrostatic Pressure Relief Valves
First, what the heck are these things? You came here to learn how to drain a pool, and now there’s all this technobabble. Relax. That’s a really long name for a pretty simple but important feature.
If you look at your pool’s floor, you’ll see at least one, but probably a few, white rings embedded in the floor. They’re plastered in place when the pool is built, but under that plaster, they’re threaded onto a slotted pipe.
This pipe runs along the floor of the pool, and then terminates into a gravel pit under the pool floor, which is also put in place when the pool is built. The purpose of these valves is to allow groundwater to come up into the pool if and when it’s drained.
If water accumulates under the pool with nowhere to go, it would create hydrostatic pressure, which is what would make the pool pop. These valves help relieve that pressure, thereby preventing (hopefully) popping.
Important: Do not open any hydrostatic pressure relief valves until the pool is mostly drained. When the pool gets to that point, you may only need to open one valve to relieve any built-up pressure. The valve in the center of the deep end is best. But if you live in an area with a high water table, you may want to open two valves to be on the safe side.
Once the valve is removed, you may see water come up into the pool. You may even have a mini-geyser spring up. This is completely normal. In fact, it’s exactly what you want. It means you’ve given the water under the pool a place to go rather than staying stuck under there and pushing your pool out of the ground.
Simply continue to pump water out of the pool. The flow should stop after a little while.
Once you’ve done what you need to do, and you’re ready to refill the pool, replace the valves. It’s entirely possible that chiseling and twisting the valve out of place will mangle it, so you may need to get a new valve plug. Put some teflon tape on the threads before twisting it into place to prevent leaking.
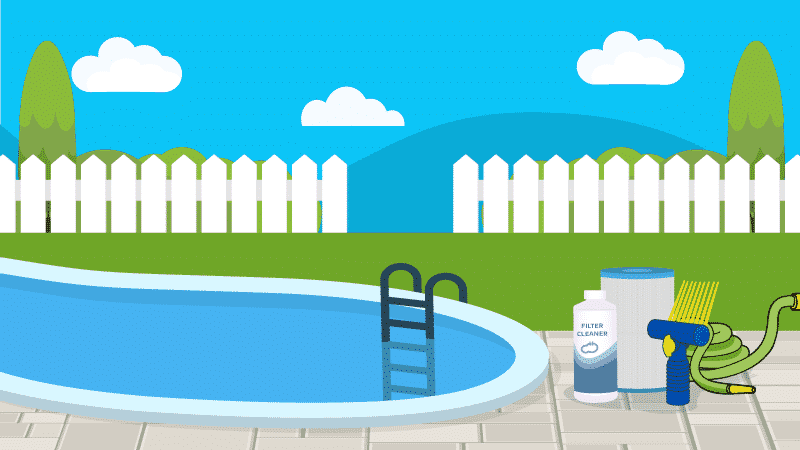
5. Get to Work
You don’t want to leave any pool empty for too long. But leaving an inground pool empty and exposed to the air and sun for an extended period of time can damage the liner.
Have all your repair and improvement supplies on hand, work quickly, and get the pool filled up again in no more than one week.
How to Drain an Inground Pool
Knowing what you’re doing before you start can help the process go more smoothly, and help you avoid costly damage.
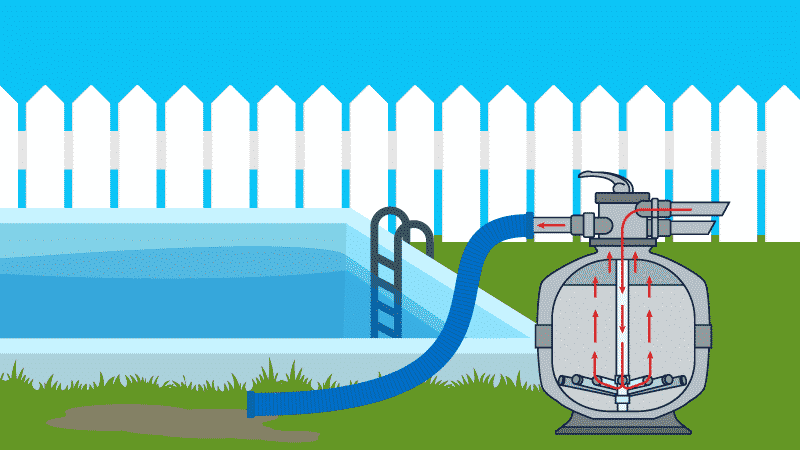
1. Rent or buy a submersible pump.
You can likely rent one from a local hardware or home improvement store, but they’re not that expensive if you’d rather have one on hand. Place the pump on the floor in the center of the deep end.
- Make sure the power cord is long enough to reach from the bottom of the deep end to the nearest outlet without being stretched. Avoid using an extension cord if possible.
- Also make sure the drainage hose is long enough to reach from the pump to the spot you’ll be using to dispose of the pool water.
2. Monitor the Draining Process
Make sure all the hoses and cords stay connected, and that the drainage hose remains in directed at the disposal location to avoid any flooding issues.
3. Turn Off and Remove the Submersible Pump
You’ll reach a point where the water level is so low, the pump can no longer pull any water out of the pool, and you’re left with a smallish puddle. This is normal, and acceptable. The amount of TDS in that little puddle isn’t going to be enough to interfere with your chemical balance once you refill the pool.
4. Open a Hydrostatic Pressure Relief Valve
Remember, you need to give any groundwater accumulated under your pool an escape route to keep your pool from popping.
5. Perform the Work You Drained the Pool For
Repairing, painting, whatever you need to do, do it quickly so you can refill the pool as soon as possible.
6. Replace the Hydrostatic Pressure Relief Valve
Be sure to have a new valve plug on hand in case the original is damaged during removal. Use teflon tape on the threads, and tightly twist the plug into the valve.
7. Refill the Pool
Put one or two (or more!) garden hoses in the pool, turn on the spigots, and keep an eye on the rising water level.
8. Turn on the Pool Pump
When the water reaches about the middle of the skimmer, turn the spigots off, remove the hoses, and turn the pool pump on. You may need to prime the pool pump again if it’s been off for quite a while.
9. Balance the Water
Because you’re starting with fresh, clean water, follow the same steps you use for pool openingevery season. You can rest easy all winter knowing your Intex pool is safely put away until next season.
Don’t Strain Your Brain When You Drain
Regardless of what type you have, learning how to drain a pool is an essential part of overall pool care. Once you’ve done it a time or two, it won’t seem so daunting. Just follow all the steps and take all the precautions, especially if you have an inground pool.
Being able to drain your pool so you can make repairs or make improvements like painting will ensure your pool not only remains in good working condition for many years to come, but looks good at the same time.