How to Raise Calcium Hardness in a Pool
If your water doesn’t have enough calcium, it starts pulling calcium straight from your pool’s surfaces. And that leads to etching, pitting, and damaged equipment. The good news is that raising calcium hardness is one of the easier chemistry fixes you’ll deal with all season.
Check out the video or keep reading for a walkthrough on adding a calcium hardness increaser to the water.

This is the ultimate guide to keeping your pool sparkling clean throughout the year that contains everything you need to know about taking care of your pool the right way. Including saltwater pools.
What Calcium Hardness Level Should Your Pool Be At?
The right calcium hardness levels depend on your pool type.
For vinyl and fiberglass pools, aim for 175 to 225 PPM (parts per million). For concrete and plaster pools, shoot for 200 to 275 PPM.
Fiberglass and vinyl pool surfaces can handle even lower levels, but you still want some calcium in the water to protect your equipment and any plaster or coping around the pool.
Test your calcium hardness once a month or whenever you add a significant amount of fresh water. Most 7-way test strips include a total hardness reading, so you can check it alongside your other levels without any extra effort.
How to Raise Calcium Hardness in Your Pool Step-by-Step
Raising your calcium hardness level is really easy with a calcium hardness increaser. But it is a highly reactive chemical, so read through each step carefully before you start.
Step 1: Balance Your pH and Alkalinity First
Before you raise your calcium hardness, make sure your pH and alkalinity are already in range.
If your pH is high when you add calcium, the calcium can drop out of solution and cause what’s called carbonate clouding. Get your pH between 7.4 and 7.6 and your alkalinity between 80 and 120 PPM first. Then wait 24 hours before touching your calcium.
Step 2: Calculate How Much Calcium Hardness Increaser You Need
To raise your levels, you’ll be adding a calcium hardness increaser to the water. For a 10,000-gallon (37,854-liter) pool, it takes about 1 to 1.25 pounds (0.45 to 0.57 kg) of calcium chloride to raise total hardness by 10 PPM. Always start with a little less than you think. It’s much easier to add more than to undo too much.
Substitute Calcium Hardness Increaser for Ice Melt
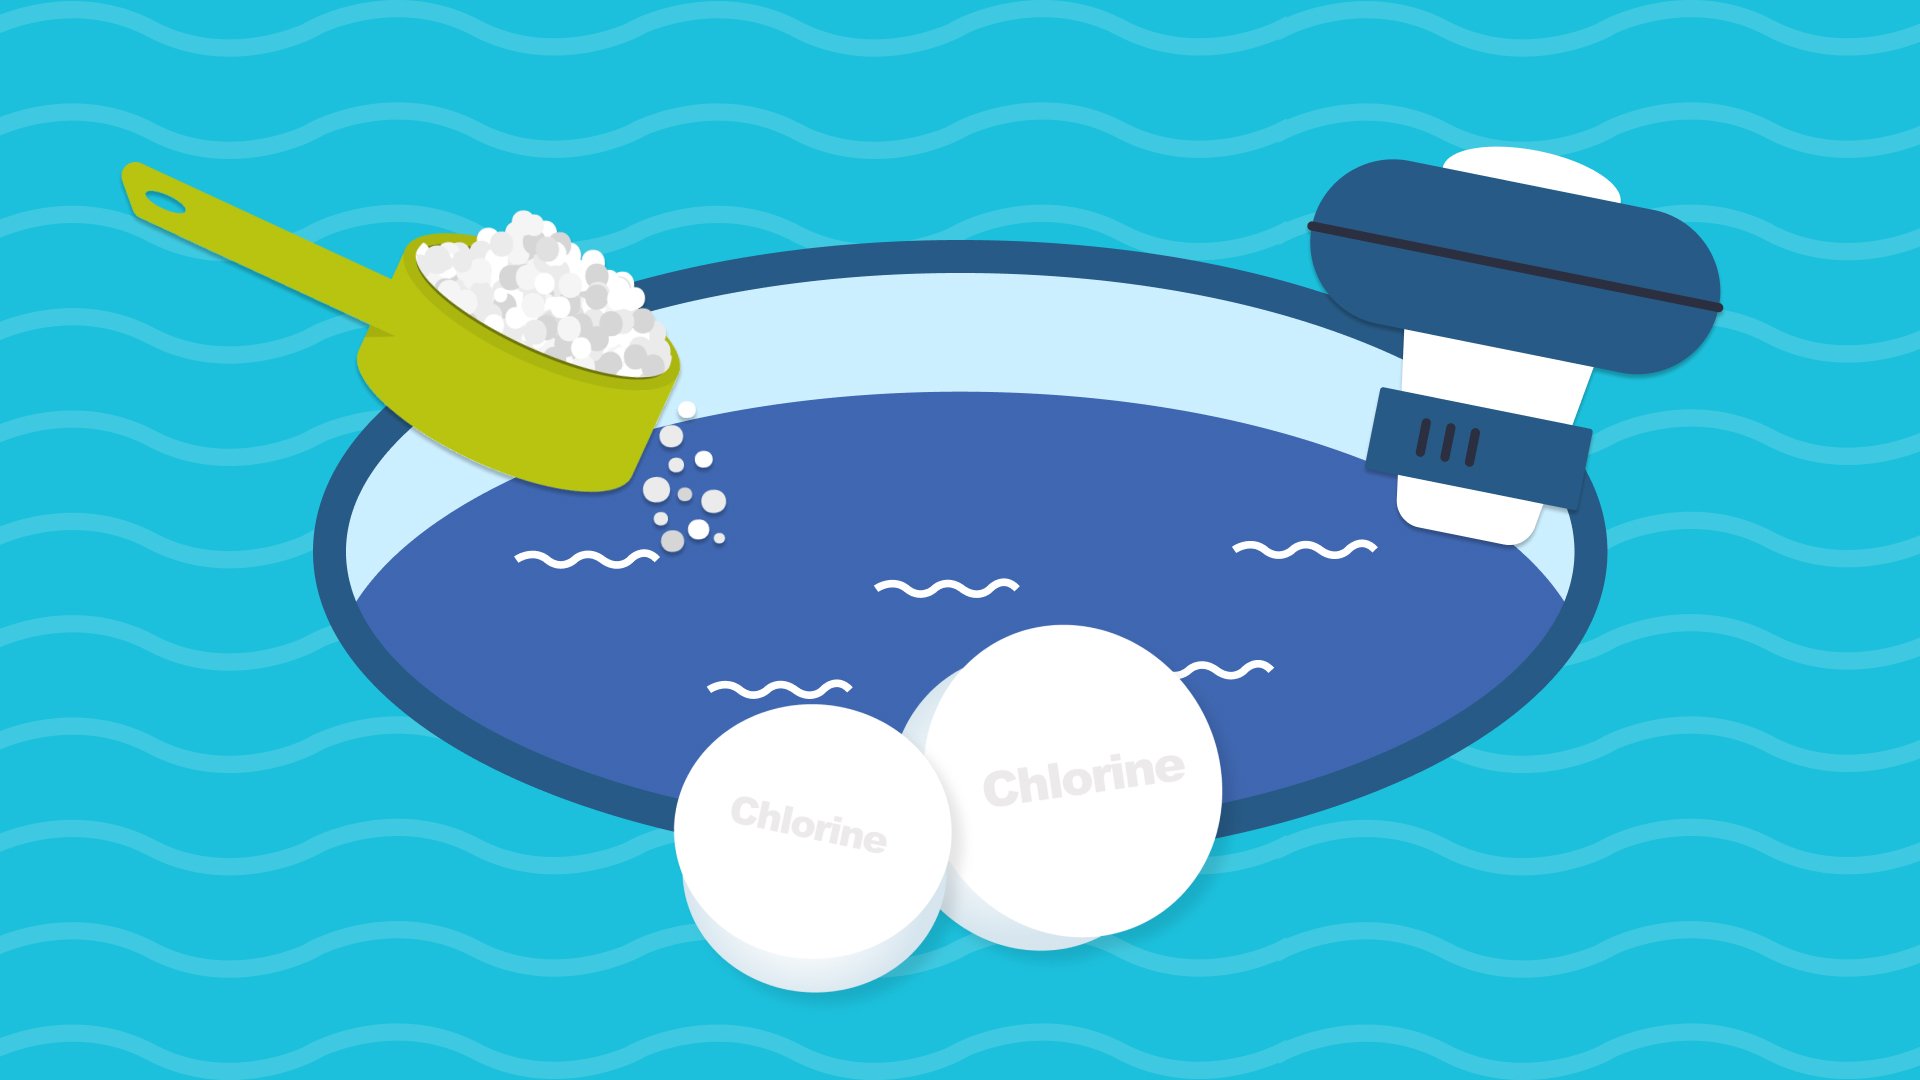
Calcium hardness increaser and ice melt share the same active ingredient: calcium chloride. If you can find ice melt that’s 100% calcium chloride with no other additives, it works exactly the same way for a fraction of the cost. Just read the label carefully before buying.
Step 3: Put on Your Safety Gear
Calcium chloride gets hot quickly when it hits water. Before you touch anything, put on chemical-resistant gloves and safety goggles and cover any exposed skin.
Always add the calcium to water, never the other way around. If you’re pre-dissolving in a bucket, stir with a wooden dowel or paint stick and work in batches of 5 pounds (2.3 kg) or less. Too much calcium at once can melt a plastic bucket.
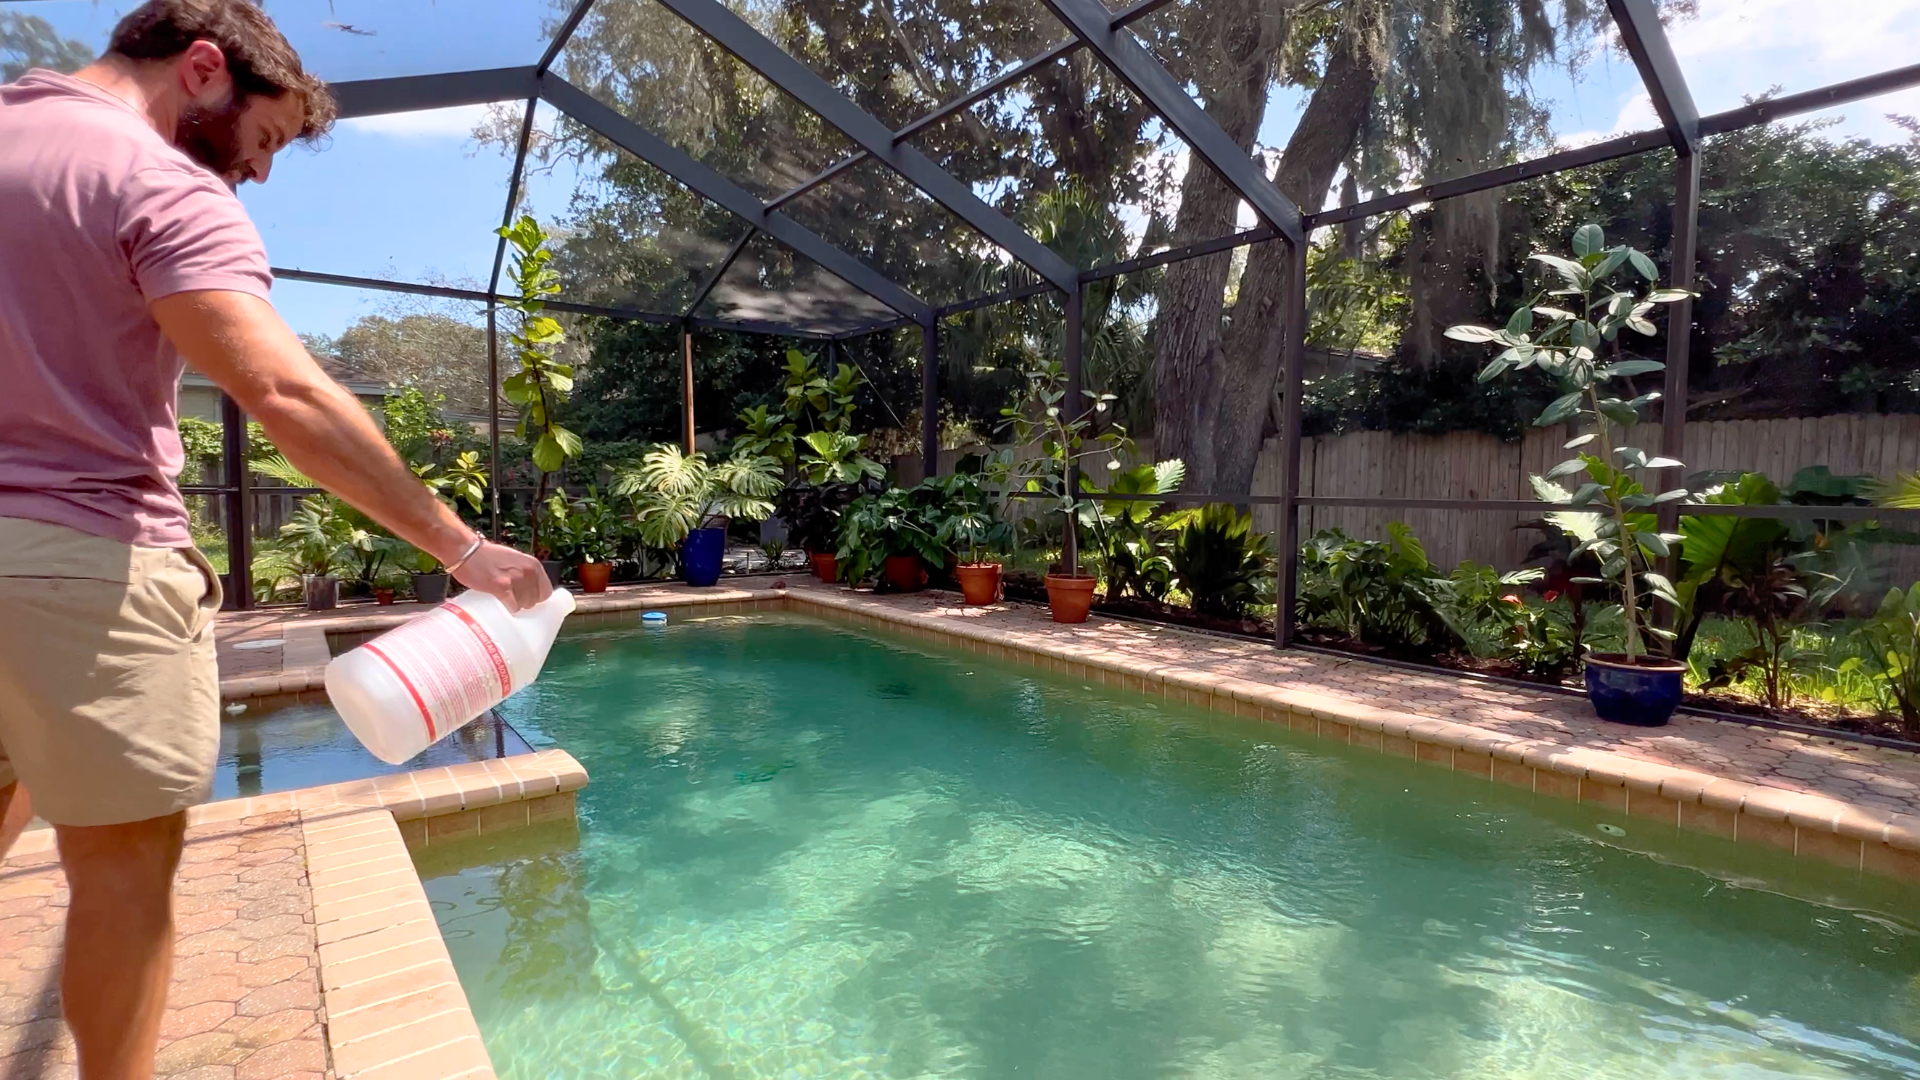
Step 4: Add the Calcium Hardness Increaser
You’ve got two options here, and both work. The first option gives you more control and prevents it from settling on your pool surfaces.
Option 1: Pre-dissolve in a bucket. Fill a bucket with pool water, then slowly add the calcium increaser and stir until dissolved. Pour the mixture around the pool’s perimeter with the pump running. This method gives you a little more control over where the product goes.
Option 2: Broadcast directly. With your pump running, walk around the deep end of the pool and spread the calcium hardness increaser across the surface. If you see it sinking and settling on the bottom, brush it around right away. Letting it sit can damage the pool surface.

Adding calcium hardness to your pool water will protect and extend the life of your pool walls including vinyl, fiberglass, and concrete.
Step 5: Run Your Pump for at Least 8 Hours
After adding the calcium, keep your pump running for at least 8 hours to fully dissolve and distribute it throughout the water. Run on the filter setting so that it can move through all of your equipment.
Step 6: Retest and Confirm Your Levels
The next day, recheck your calcium hardness levels. If you’re in range, you’re done. If you’re still low, repeat the process and add a smaller amount this time. Keep adjusting in small increments until you hit your target.

Enter your water test results. Get a custom treatment plan. Know exactly what chemicals to add to keep your pool clear. Saltwater and hot tub compatible.
What’s the Right Calcium Hardness Level in a Freshly Plastered Pool?
New plaster pools need their calcium hardness levels maintained for the first month and may need a calcium hardness increaser.
Fresh plaster is fragile, and water that’s too soft will pull calcium straight out of the finish. That will leave you with etching, rough spots, and plaster dust.
Test your calcium hardness daily during that first week. Chemistry shifts fast in a new pool, and staying on top of it early protects the finish long-term. On day two after filling, bring calcium hardness up to a minimum of 150 PPM. From there, slowly raise it to 200–400 PPM over the first 28 days as the plaster cures.
Key Takeaways
- Test monthly. Check your calcium hardness at least once a month and any time you add fresh water to your pool.
- Know your target. Aim for 175–225 PPM in vinyl and fiberglass pools, and 200–275 PPM in concrete and plaster pools.
- Balance pH first. Always get your pH and alkalinity in range before adding a calcium hardness increaser. High pH can cause calcium to fall out of solution.
- Use a calcium hardness increaser or calcium chloride. That’s the active ingredient in calcium hardness increaser and in 100% calcium chloride ice melt, which works the same way for less money.
- Safety matters. Calcium chloride heats up when it comes into contact with water. Always wear gloves and goggles, and add calcium to water, not the other way around.
- Run your pump. After adding calcium, run your pump for at least 8 hours before retesting the next day.
- New plaster needs calcium balanced. Bring calcium hardness to 150 PPM on day two, then gradually raise it to 200–400 PPM over the first 28 days as the plaster cures.