Pool Opening Tips to Get Your Pool Ready Fast
Opening your pool the right way saves you time and gets you swimming faster. Follow these steps in the correct order, and your water will clear up quickly while your equipment runs smoothly all season long.
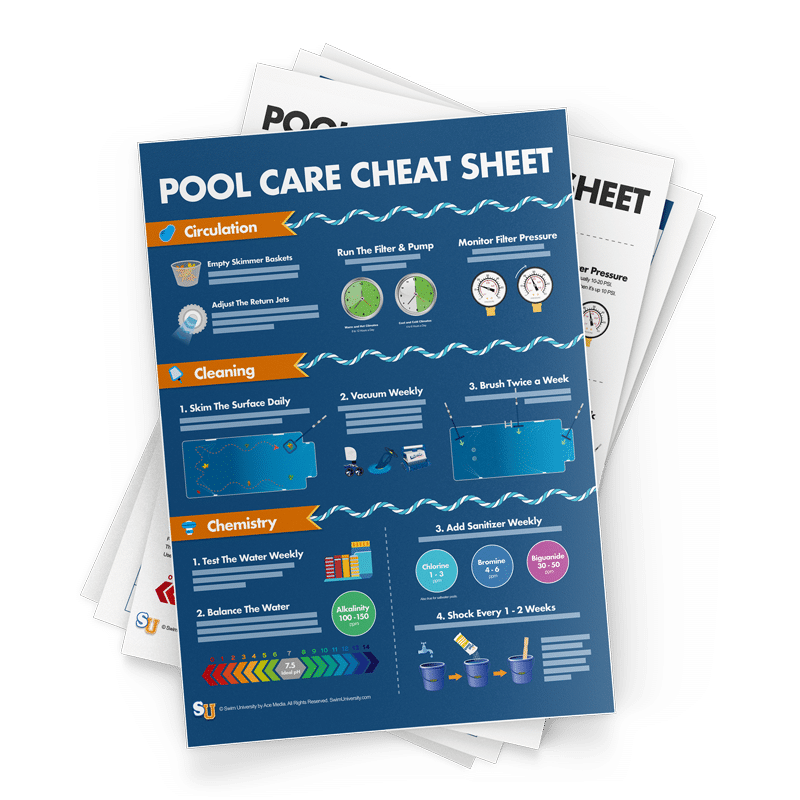
Here’s how to open your pool:
- Clean off your winter cover
- Remove your winterizing accessories
- Set up your equipment
- Fill your pool to the proper level
- Restart your pump and filter
- Test and balance your water chemistry
- Brush and vacuum
- Shock your pool water
- Run your filter for 24 hours
- Test and adjust chlorine levels
- Add chlorine stabilizer and calcium hardness increaser (if needed)

This is the ultimate guide to keeping your pool sparkling clean throughout the year that contains everything you need to know about taking care of your pool the right way. Including saltwater pools.
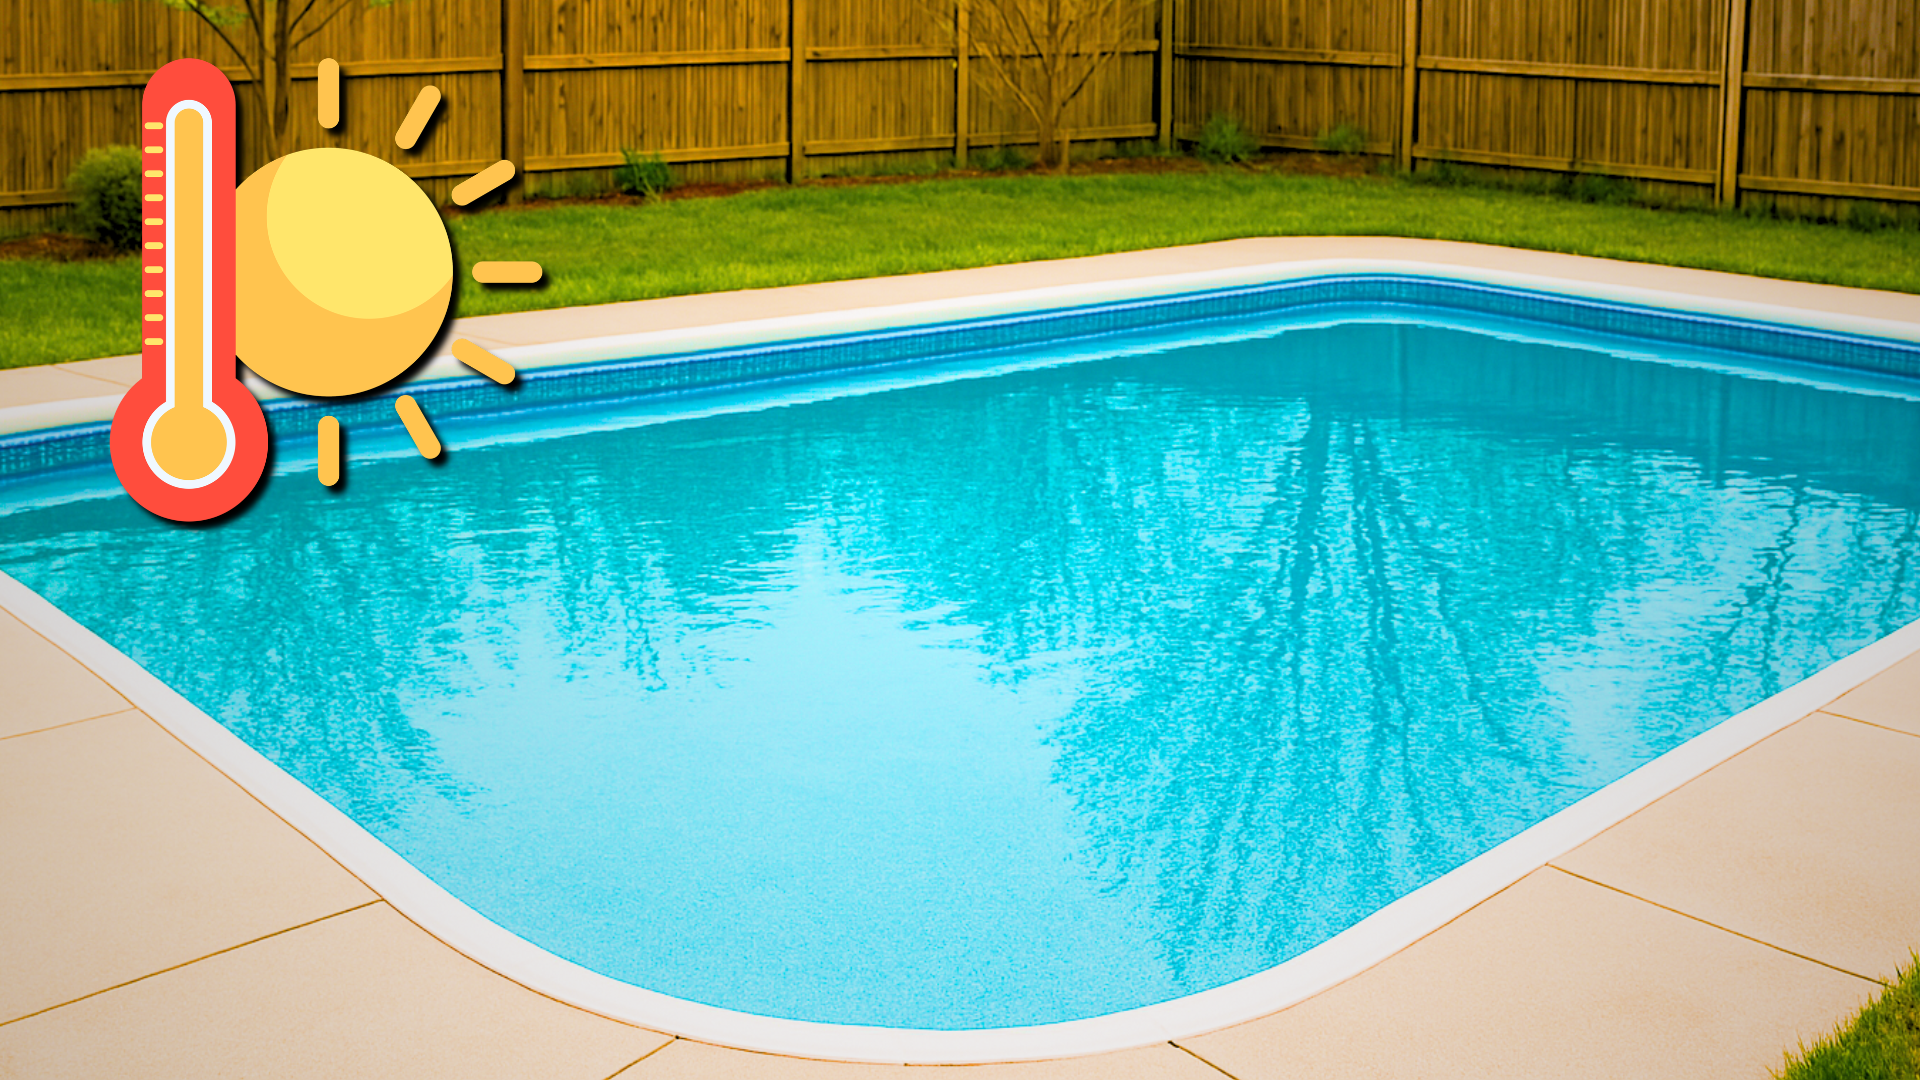
When to Open Your Pool
Plan to open your pool when daytime temperatures consistently stay above 70°F (21°C). Algae starts growing as the weather warms up, especially under mesh covers where sunlight reaches the water. Opening at the right time helps you stay ahead of algae and get your system running before problems start.
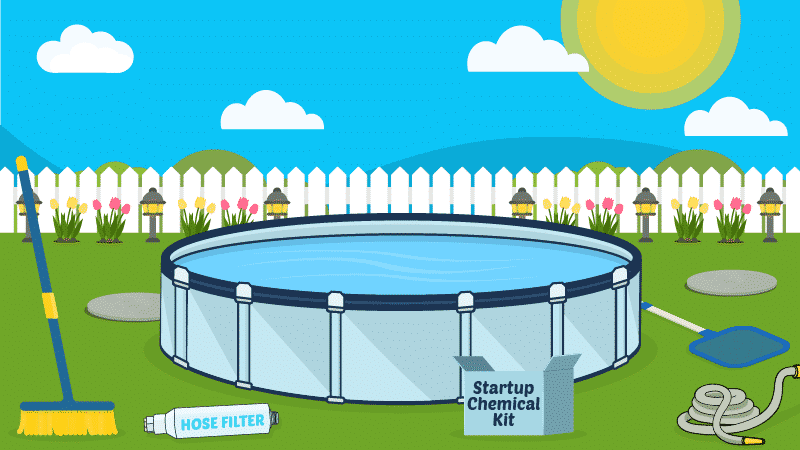
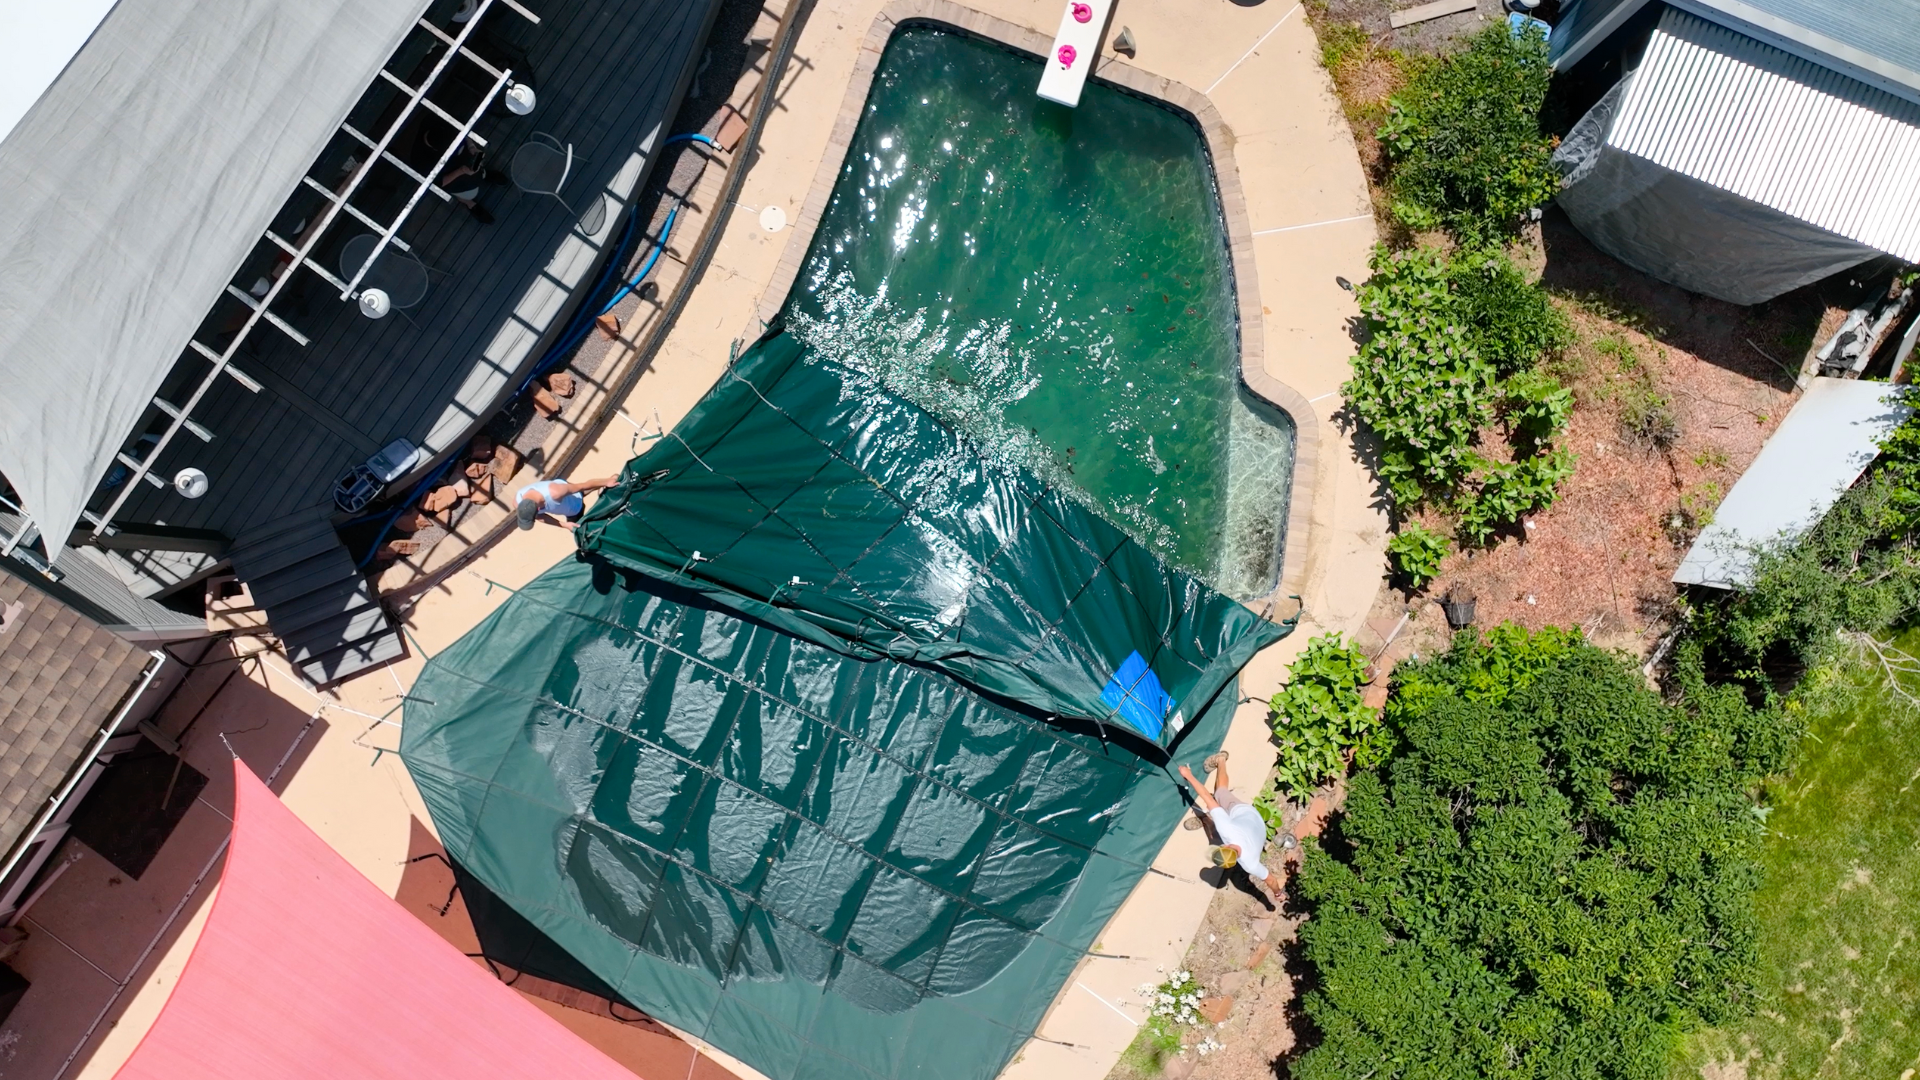
Step 1. Clean Off Your Winter Cover
Remove any debris on your cover using a soft broom to sweep away leaves and dead branches. Then pump off any standing water with a pool cover pump. This prevents dirty water from flowing into your clean pool when you remove the cover.
Never drag your cover across rough surfaces. Get help from another person to lift it carefully and keep debris from falling in.
Step 2. Remove Your Winterizing Accessories
Take out all winter plugs from your return jets and skimmer. Remove any ice compensators or bottles you placed in the skimmer basket during closing. If your water level is at or above the skimmer and you’ve installed a skimmer plate, wait to remove this.
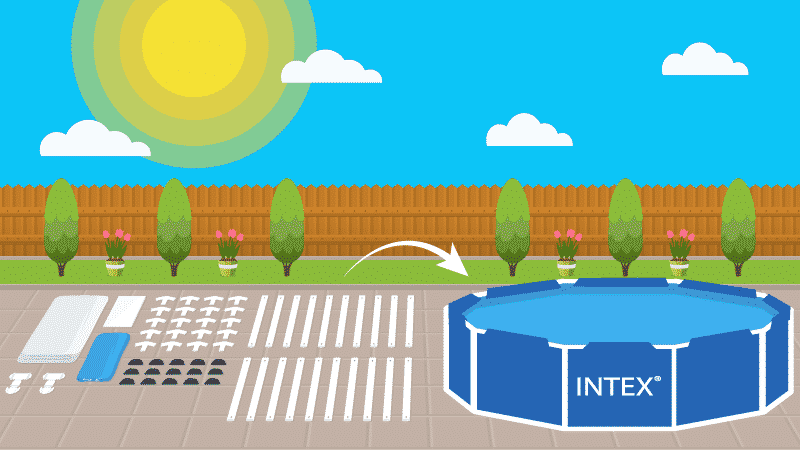
Step 3. Set Up Your Equipment
Reinstall any hoses or equipment you removed during winterization. Make sure all connections are tight and secure to prevent leaks.
Then reinstall your skimmer baskets and return jets. Check that everything is in good condition.
Check your pump basket and remove any debris. Lubricate your pump and filter O-rings with pool gasket lubricant, and reinstall any drain plugs.
Step 4. Fill Your Pool to the Proper Level
If you used a skimmer plate over winter, remove it now. Add water until it reaches halfway up your skimmer opening. Whenever filling your pool, use a hose filter to help remove metals and minerals that can stain your pool.
Step 5. Restart Your Pump and Filter
Turn on your pump and watch for air or stuttering as the pump pulls in water. To get air out of your plumbing lines, prime the pump with a garden hose (here’s our guide on How to Prime Your Pump).
Check your filter pressure gauge as the pump runs. If pressure spikes suddenly, shut off your pump immediately. Check for blockages in your system before restarting. Check out our Skimmer Troubleshooting Guide if you need more help.
Let your system run for several hours before adding chemicals. This circulates the water and helps you identify any equipment issues early.
Step 6. Test and Balance Your Water Chemistry
Use test strips or a liquid test kit to check your levels. You need readings for total alkalinity, pH, and chlorine at this stage, and test for metals if you have well water or know your source water has high copper or iron.
Write down your test results before adding chemicals. This creates a baseline for tracking your water balance throughout the season. You can also use the Pool Care App to help track and manage readings.

Enter your water test results. Get a custom treatment plan. Know exactly what chemicals to add to keep your pool clear. Saltwater and hot tub compatible.
Balance Alkalinity Before Everything Else
Adjust total alkalinity first. Alkalinity acts as a pH buffer in your water, preventing your pH from fluctuating, so adjust this before pH.
Your alkalinity should be between 80 and 120 parts per million (PPM). Add alkalinity increaser or baking soda to raise levels.
Use
Adjust pH After Alkalinity
Proper pH helps your sanitizer work effectively and protects your equipment. The ideal pH range is 7.4 to 7.6.
Use pH increaser or soda ash to raise pH. Add
Proper pH prevents eye irritation and equipment corrosion. It also maximizes your shock’s sanitizing power later on. Keep the pH in the lower range if you know that you’ll be adding a metal sequestrant.
Add Metal Sequestrant If Needed
If your water contains metals, add a metal sequestrant now. This product suspends metals in the water, preventing them from staining your surfaces.
Skip this step if you use city water and haven’t had staining issues. Most municipal water supplies contain low levels of metals.
Let the sequestrant circulate for 8 to 24 hours before shocking. The sequestrant needs time to bind with metals and circulate, and the high chlorine levels from shock can neutralize it before it gets to work.

Helps prevent staining by removing iron, calcium, manganese, copper and other metals from your pool water. Also helps protect plumbing and pool walls from rust, stain, and scale. Used for all pool openings and closings.
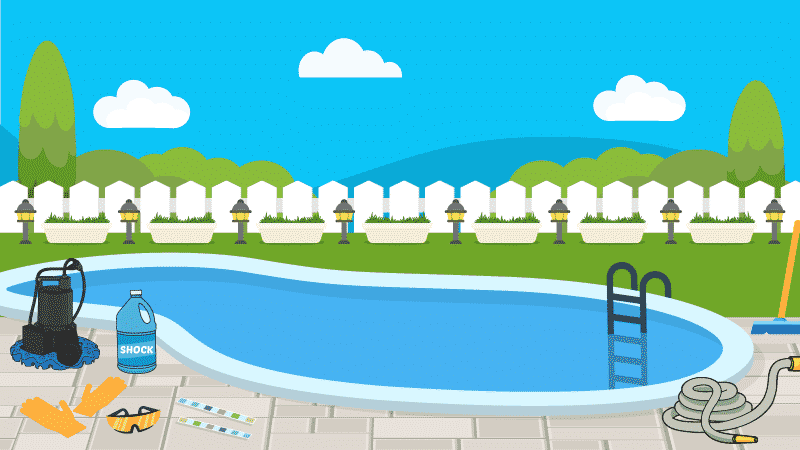
Step 7. Brush and Vacuum Before Shocking
Remove algae spores and debris from your pool surfaces. Brushing walls and floors loosens contaminants that settled over winter.
Vacuum your entire pool to remove sediment. This manual cleaning step helps your shock work more effectively in the next step.
Your pool doesn’t need to be perfectly clean yet. The shock will kill remaining algae spores and bacteria after vacuuming.
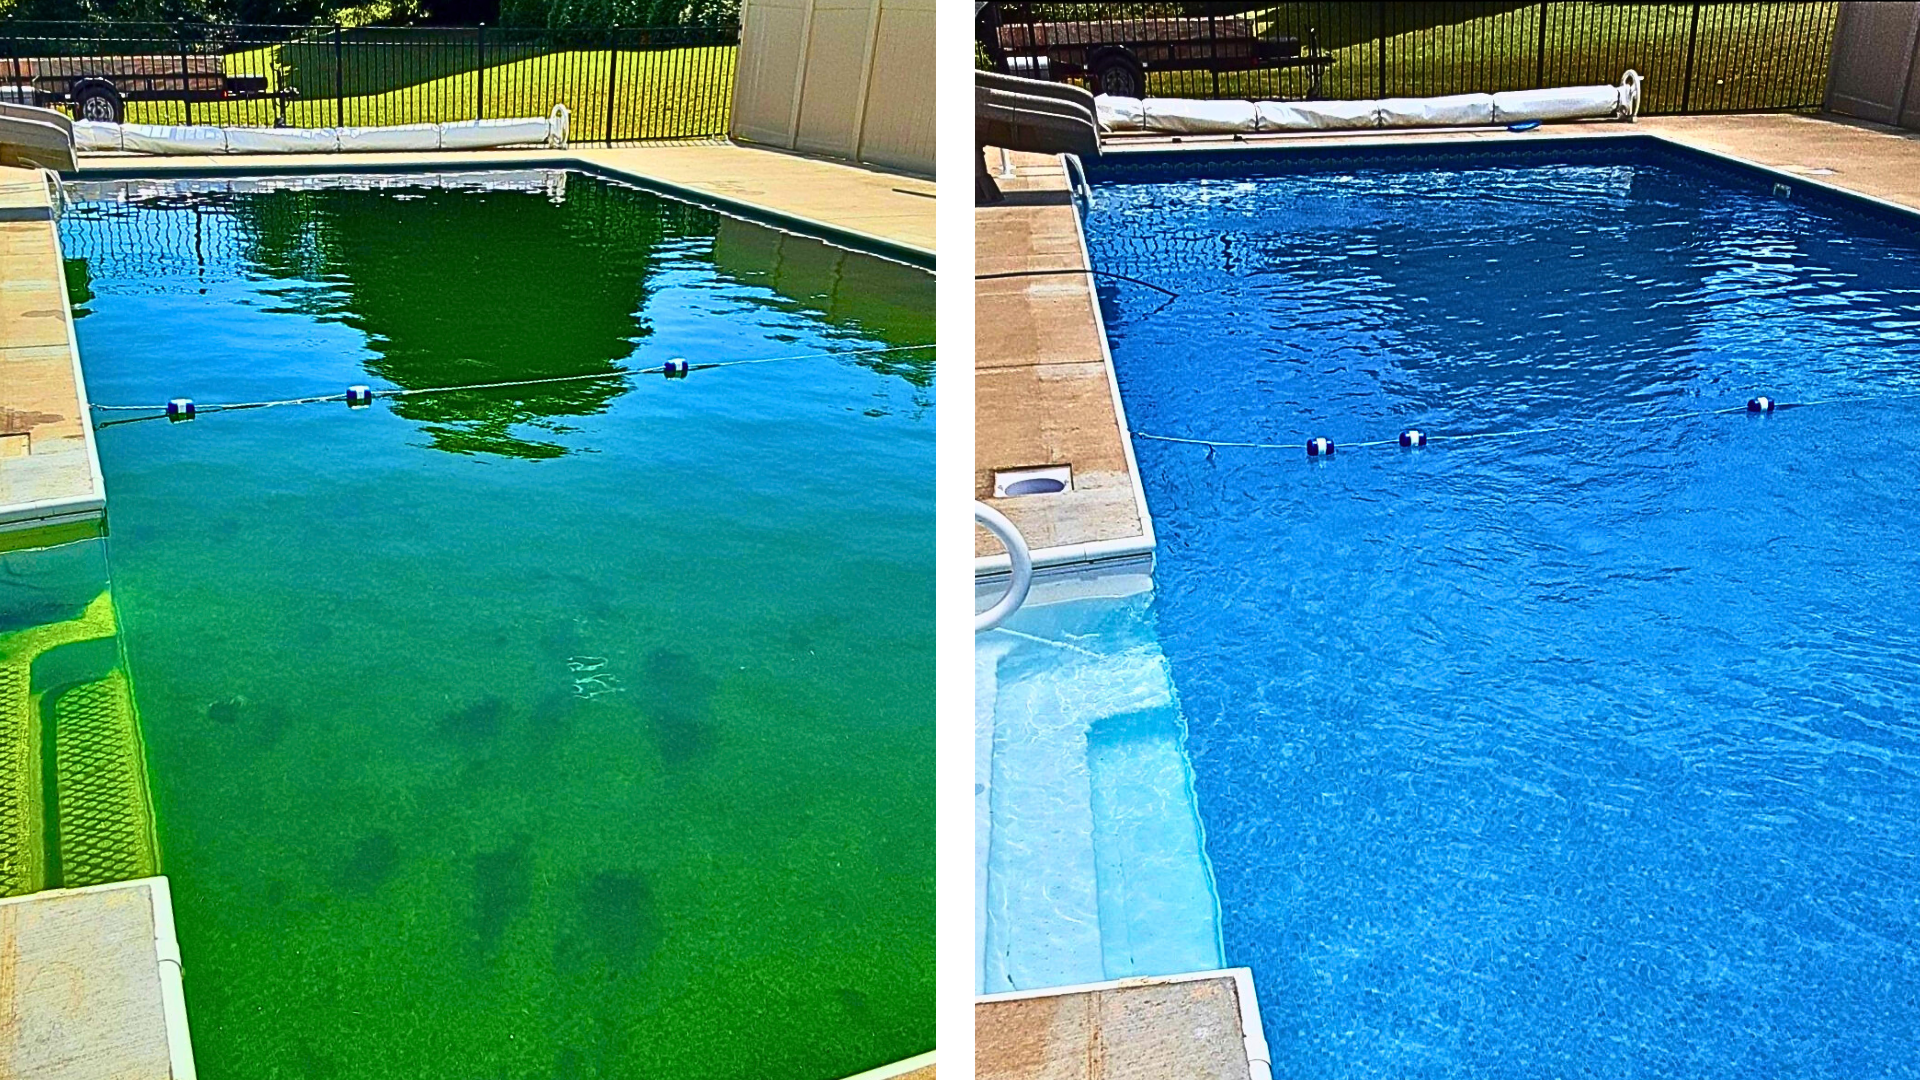
Step 8. Shock Your Pool Water
Shock your pool with a double dose of chlorine shock. That’s two pounds (0.9 kg) of chlorine shock per 10,000 gallons (37,854 liters). This double dose kills bacteria and algae spores in the water. Cal-hypo shock is the most powerful chlorine shock and is most effective at killing contaminants. But salt water or fiberglass pool owners should use dichlor shock instead to avoid calcium buildup.
Broadcast the shock across your pool surface with the pump running. Never add shock through your skimmer as it can damage equipment. Add shock at night to prevent sunlight from burning it off too quickly.
Shock vs Regular Chlorine
Both products contain chlorine but in different concentrations. Shock delivers a powerful dose while tablets provide steady, controlled release. Regular chlorine tablets are great for daily sanitizing, but work too slowly to kill contaminants and bacteria that have built up when the pool was closed.
Use shock for pool opening, algae treatment, and troubleshooting water issues. Save chlorine tablets for your automatic chlorinator or floater during regular use.
Should You Shock Immediately After Opening?
Yes, shock your pool after balancing alkalinity and pH. Waiting to shock allows algae and bacteria to multiply in your water.
Balanced pH makes your shock work more effectively. This is why you adjust alkalinity and pH before adding shock to your pool.
The shock will raise your chlorine levels temporarily to 10 times normal. This process called breakpoint chlorination destroys contaminants and refreshes your sanitizer.
Step 9. Run Your Filter for 24 Hours
Keep your filtration system running continuously after shocking. This circulates the shock throughout your entire system and filters out dead algae.
Check your pressure gauge regularly during this period. Backwash or clean your filter if pressure rises 8 to 10 PSI above baseline.
Your water should be clear by the next day. Slight cloudiness is normal from the shock and will dissipate with continued filtration.
What If Your Water Is Still Cloudy?
If your water looks cloudy after 24 hours, add a dose of
Clarifier provides a temporary fix while your filter catches up. The cloudiness will return if you don’t maintain proper filtration and chemistry.
Continue running, checking, and cleaning your filter until the water clears completely. This usually takes another 24 to 48 hours with clarifier.

Clears cloudy pool water by combining particles, making it easier for your filter to remove. Great for all pools. Also compatible with salt water pools.
Step 10. Test and Adjust Chlorine Levels
Wait until chlorine drops back to 1 to 3 PPM. This typically takes 8 to 24 hours after shocking, depending on sunlight and temperature.
Add chlorine tablets to your automatic chlorinator or floater now, and test your water one final time.
Step 11. Add Chlorine Stabilizer and Calcium Hardness Increaser if Needed
If you’re using stabilized chlorine tablets, you likely don’t need to add a chlorine stabilizer to the water. If you’re using unstabilized chlorine (like liquid chlorine), test and adjust your cyanuric acid (CYA) levels by adding chlorine stabilizer. This protects your chlorine from breaking down in direct sunlight. Your CYA should be between 30 and 50 PPM and higher (up to 80 PPM) for salt water pools.
Check your calcium hardness levels, too. Your ideal range is 175 to 225 PPM for vinyl and fiberglass pools or 200 to 275 PPM for concrete and plaster pools.
Low calcium can damage your pool surfaces and equipment. Add calcium hardness increaser if your levels are too low. Fiberglass and salt water pools do best with lower in-range calcium hardness levels, but some hardness in the water helps protect equipment from corrosion and damage.
Key Takeaways of Pool Opening Tips
- Open your pool when daytime temperatures stay consistently above 70°F (21°C) to prevent algae growth before the season starts.
- Always balance alkalinity first, then pH, before shocking to make your chemicals work more effectively.
- Use two pounds (0.9 kg) of chlorine shock per 10,000 gallons (37,854 liters) and add it at night.
- Run your filter for at least 24 hours after shocking to circulate chemicals and remove dead algae from the water.
- Wait until chlorine levels drop to 1 to 3 PPM, which typically takes 8 to 24 hours after shocking.
- Add chlorine stabilizer and calcium hardness increaser after balancing your other levels.