New Pool Start Up Checklist
Getting your new pool started the right way sets the tone for its entire life. Skip a step or do things out of order, and you could end up with staining, damaged surfaces, or chemistry problems that are a pain to fix. And starting a brand new pool is different from reopening one after winter. A new pool needs careful chemical balancing from day one to protect the finish, especially if you have a plaster or concrete pool.
The good news is this process is straightforward once you know what to do (and what NOT to do). Follow these steps in order, and your pool will be clean, balanced, and ready to swim in.

This is the ultimate guide to keeping your pool sparkling clean throughout the year that contains everything you need to know about taking care of your pool the right way. Including saltwater pools.
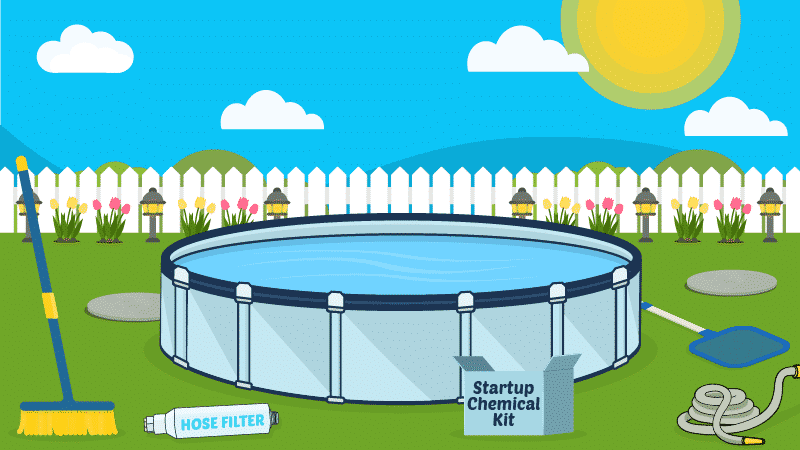
What Do You Need to Start Up a New Pool?
Before you start, get everything you need in one place. Running to the store mid-startup wastes time and can throw off the order of your chemical additions.
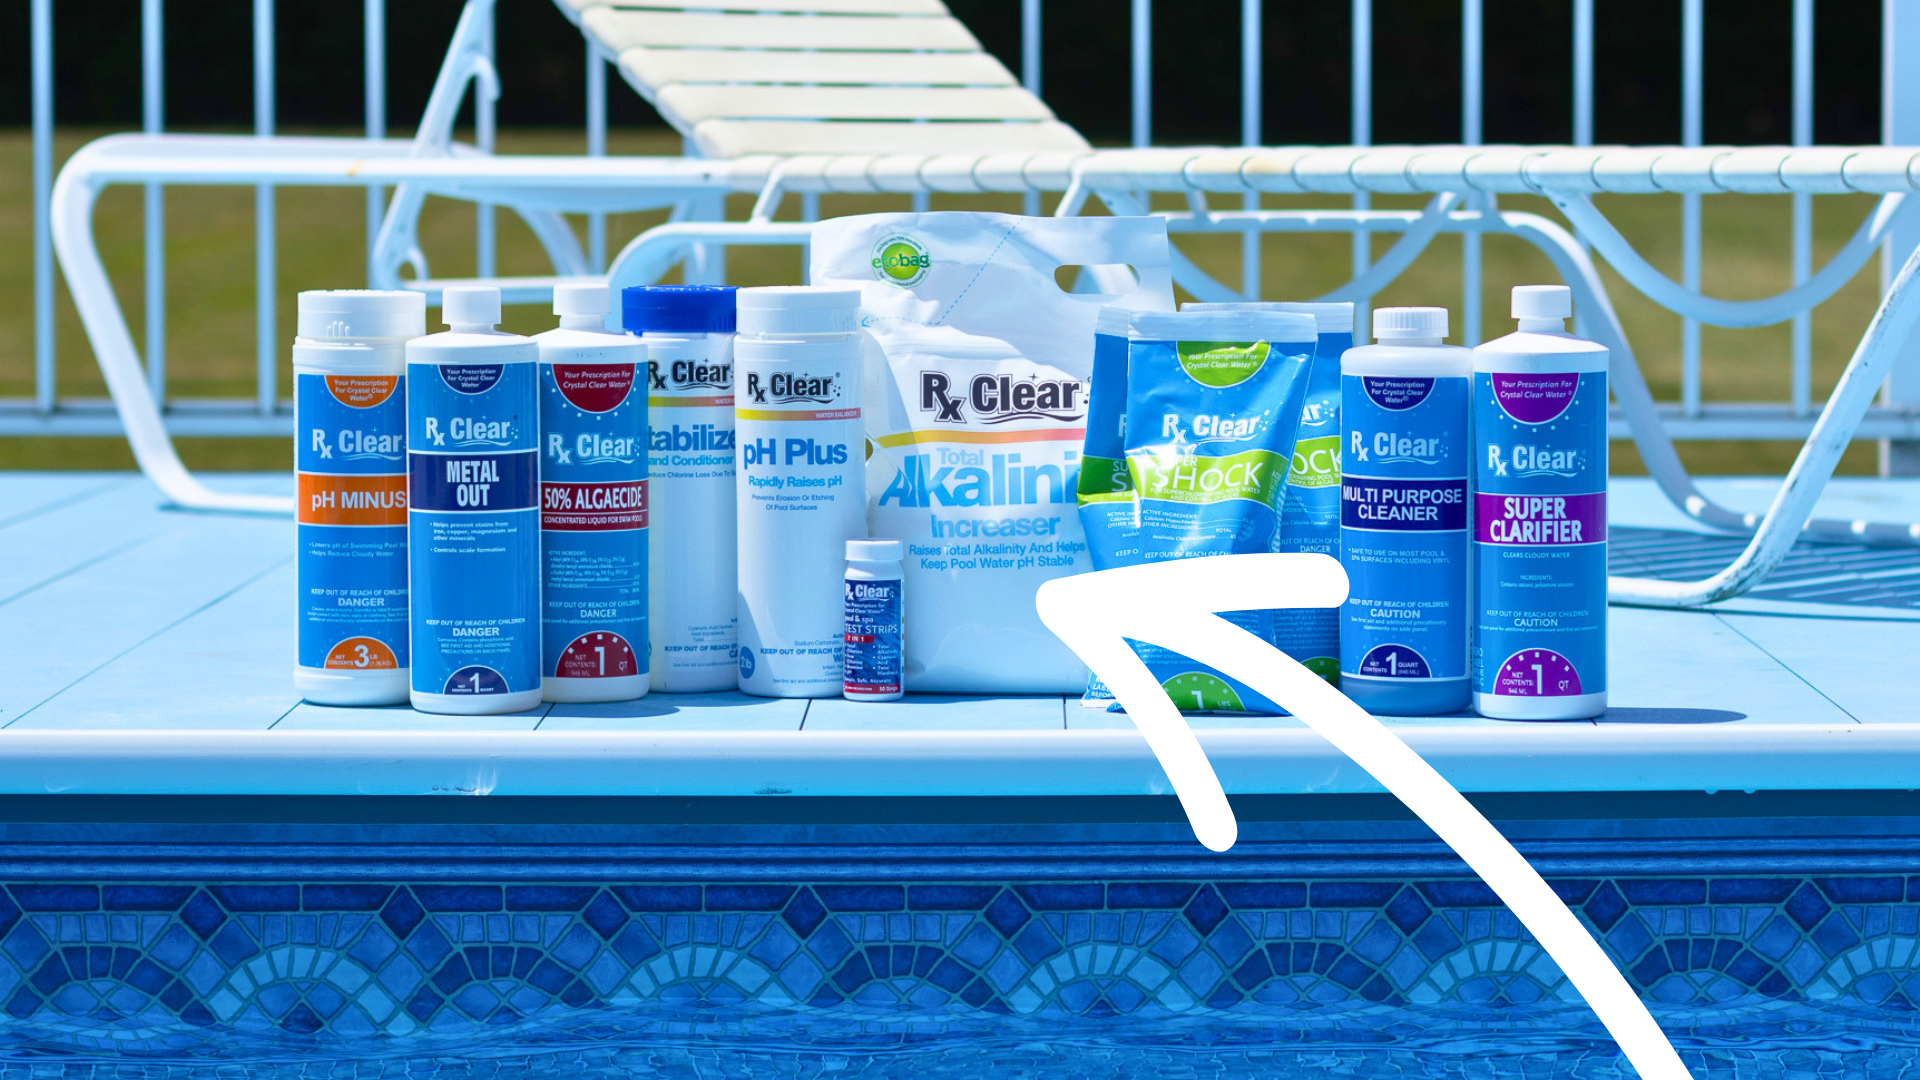
You can invest in a pool opening kit, or just have these common items on hand. NOTE: All the links below are affiliate links, which means that if you click a link and make a purchase, we earn a commission at no additional cost to you.
- Hose with a filter attachment
- Pool liquid test kit or test strips
- Metal sequestrant or stain and scale preventer (if needed)
- pH increaser and
pH decreaser - Alkalinity increaser
- Calcium hardness increaser
- Chlorine (granular, tablet, or liquid)
- Pool shock (we’ll talk about types later)
- Chlorine stabilizer (if needed)
- Pool brush
- Pool-grade salt (if needed)
- Safety goggles and chemical-resistant gloves
A hose filter is especially important. It removes minerals and metals from your fill water before they ever hit your pool. This is a simple step that can prevent major staining headaches later on.
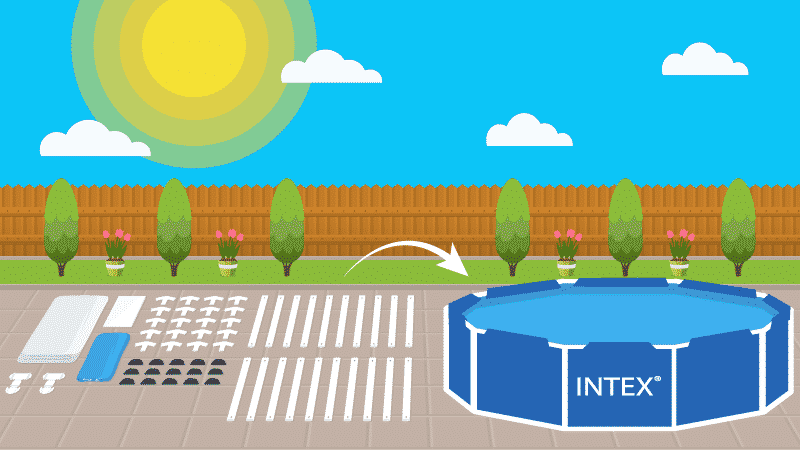
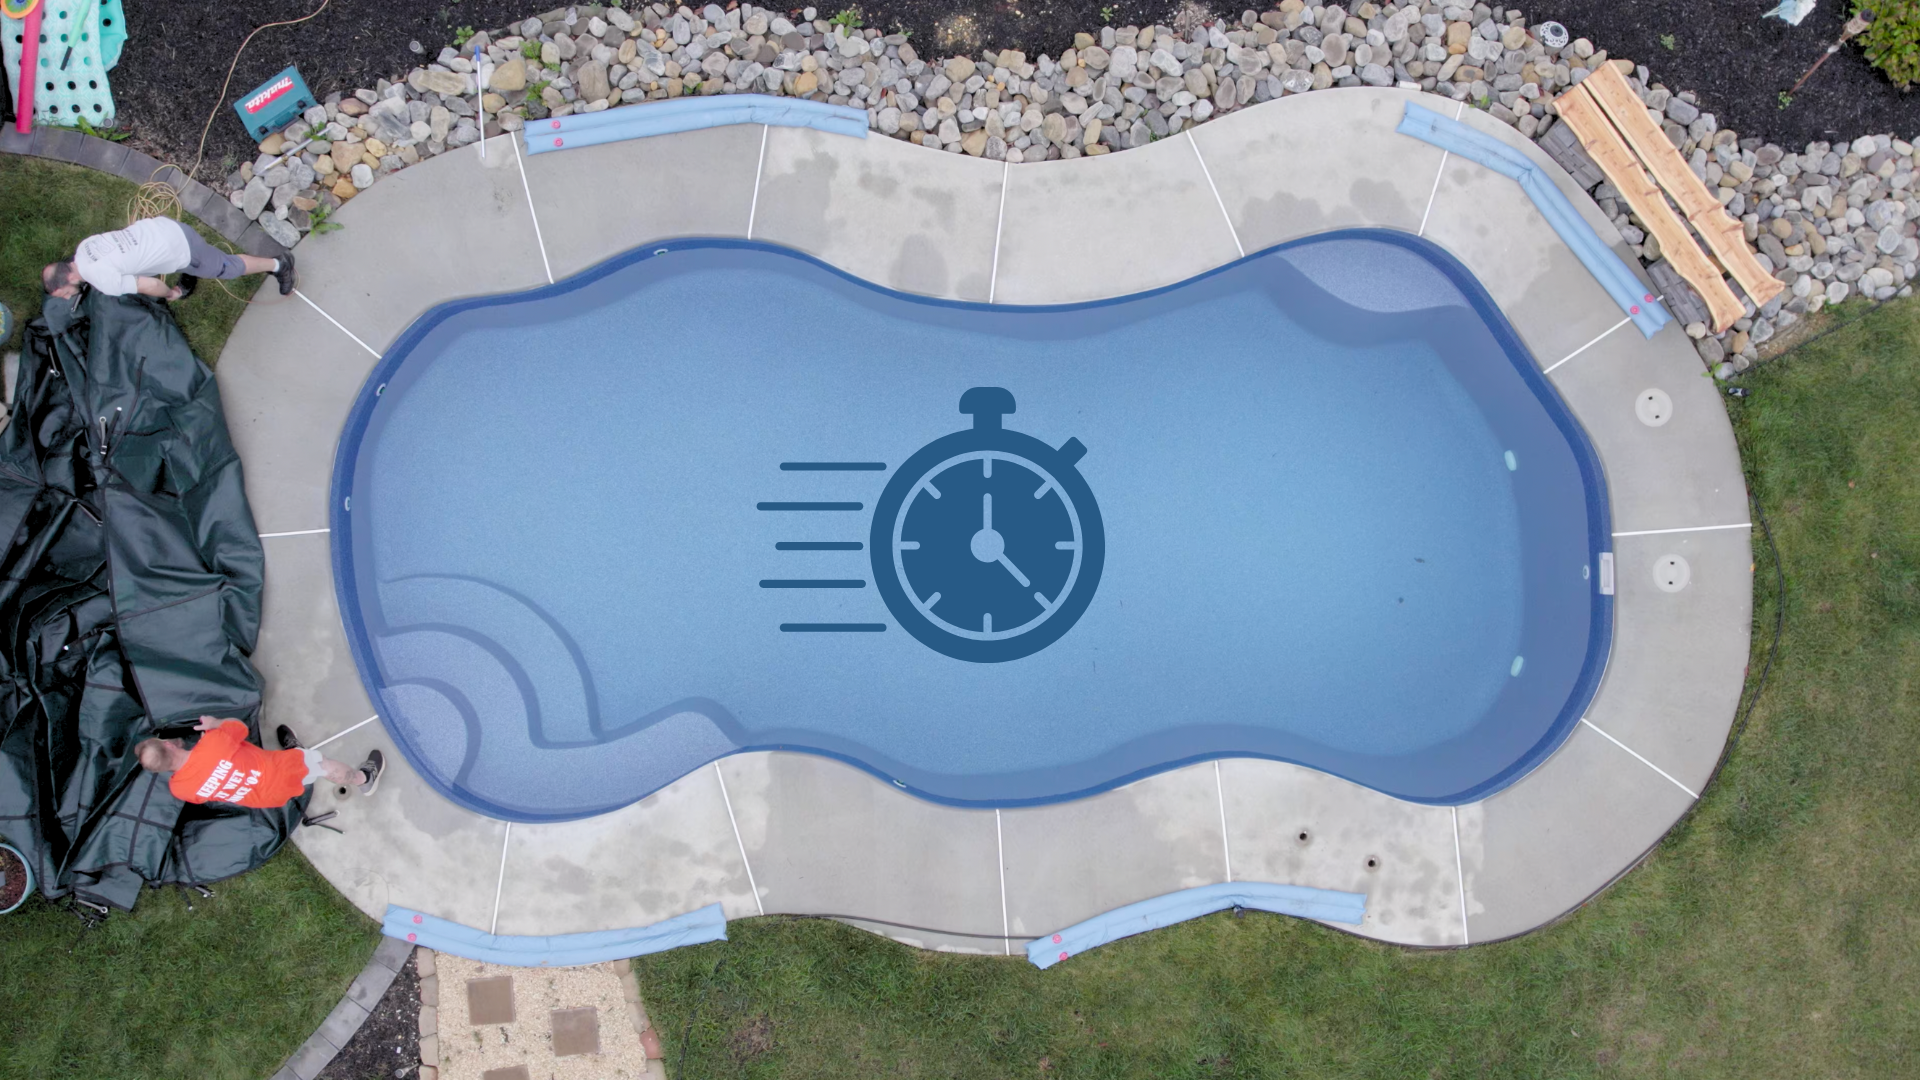
Step 1: Fill the Pool
Fill your pool immediately after the finish is applied. For new plaster pools, this is critical. Letting the surface dry out before filling can cause cracking.
Fill to the middle of your skimmer opening. Use your hose filter the entire time you’re adding water. Do not stop the fill mid-way and keep the water flowing until the pool is full.
Once the pool is full, you’ll start up your filtration equipment.
Step 2: Start Your Filtration Equipment
Once the pool is full, start your pump and filter. Run the system for 24 hours a day for at least the first 72 hours. This circulates your water and helps your chemicals distribute evenly.
Before starting the pump, prime it by filling the strainer basket with water. Replace the lid, then turn it on at the breaker. Watch the pressure gauge as it starts up. Normal operating pressure typically falls between 10 and 25 PSI.
If the pump doesn’t prime within a few minutes, shut it off immediately. Check that all valves are open and there are no air leaks in the suction lines. Check out our guide on How to Prime a Pump if you need more help.
Step 3: Test Your Water
After the water has circulated for 24 hours, it’s time to test. Use test strips or a liquid test kit to check your levels. For the most thorough baseline reading, take a water sample to your local pool store. They can test for metals and other substances the test strips or test kit may not measure.
Keep track of your findings. This is your starting baseline. Test for all of the following:
- Total Alkalinity
- pH
- Chlorine
- Calcium Hardness
- Cyanuric Acid (CYA)

Enter your water test results. Get a custom treatment plan. Know exactly what chemicals to add to keep your pool clear. Saltwater and hot tub compatible.
Step 4: Balance Your Water Chemistry in Order
Always balance one level at a time and run the pump while adding chemicals. Wait at least 30 minutes between each addition and retest with test strips.
First: Balance Total Alkalinity
Start with total alkalinity. It acts as a buffer for your pH. If alkalinity is off, your pH will bounce around. Your target is 80–120 ppm. Add alkalinity increaser (sodium bicarbonate) to raise low levels. Use a
Second: Adjust pH
Once alkalinity is dialed in, adjust your pH. Your target range is 7.2–7.6 for a new pool startup. It’s important to keep pH in the lower end of this range for a new pool to prevent scaling. Use pH increaser (soda ash) to raise it and
Proper pH is critical. Too high, and your chlorine barely works. Too low and the water becomes corrosive and can damage your pool finish.
Third: Adjust Calcium Hardness
It’s important to keep your total calcium hardness levels lower during startup. Your levels should be between 175–225 PPM, but in the lower range to start.
Low calcium causes the water to pull minerals from your pool surfaces. This leads to etching, pitting, and damage to plaster, grout, and metal parts. Add a calcium hardness increaser to raise your levels.
High calcium is harder to fix and usually requires draining and refilling part of your pool. This is another reason the hose filter matters — preventing high calcium is much easier than correcting it.
Step 5: Add Chlorine
Chlorine comes last, and for new plaster pools, it comes even later. Do not add chlorine for the first 48 hours after filling a new plaster pool. After 48 hours, slowly bring chlorine up to 1-3 PPM.
For all other pool types, add chlorine after your other levels are balanced. Start slow and raise levels gradually.
You don’t need to add chlorine shock to a pool that’s been freshly filled. For new plaster pools, avoid calcium hypochlorite shock early in the startup process.
You may also need to add a chlorine stabilizer (or cyanuric acid or CYA) at this point. CYA protects your chlorine from being destroyed by UV rays. Depending on the type of chlorine you add to your pool, you may or may not need to raise this number. If you’ll be using trichlor tablets or dichlor chlorine granules, they already contain CYA, and you don’t need to add a chlorine stabilizer. If you’re using liquid chlorine, aim for 30–50 PPM.
Step 6: Brush, Brush, Brush
For the first 14 days after startup, brush your entire pool surface at least twice a day. Brushing keeps plaster dust and debris from settling and hardening on the surface. It also helps your filter capture particles more efficiently. Use a stiff pool brush and cover every inch of the walls, floor, and steps. If you have a fiberglass pool, you don’t need to brush daily. Once per week is enough.
Step 7: Monitor Daily for the First Week
During the first week, test your water daily or every other day. Chemistry can shift quickly as a new pool settles. Check your pH, alkalinity, chlorine, and calcium hardness each time.
After the first week, you can move to a regular weekly maintenance routine. From there, consistent testing, circulation, and cleaning keep your water clear all season long.
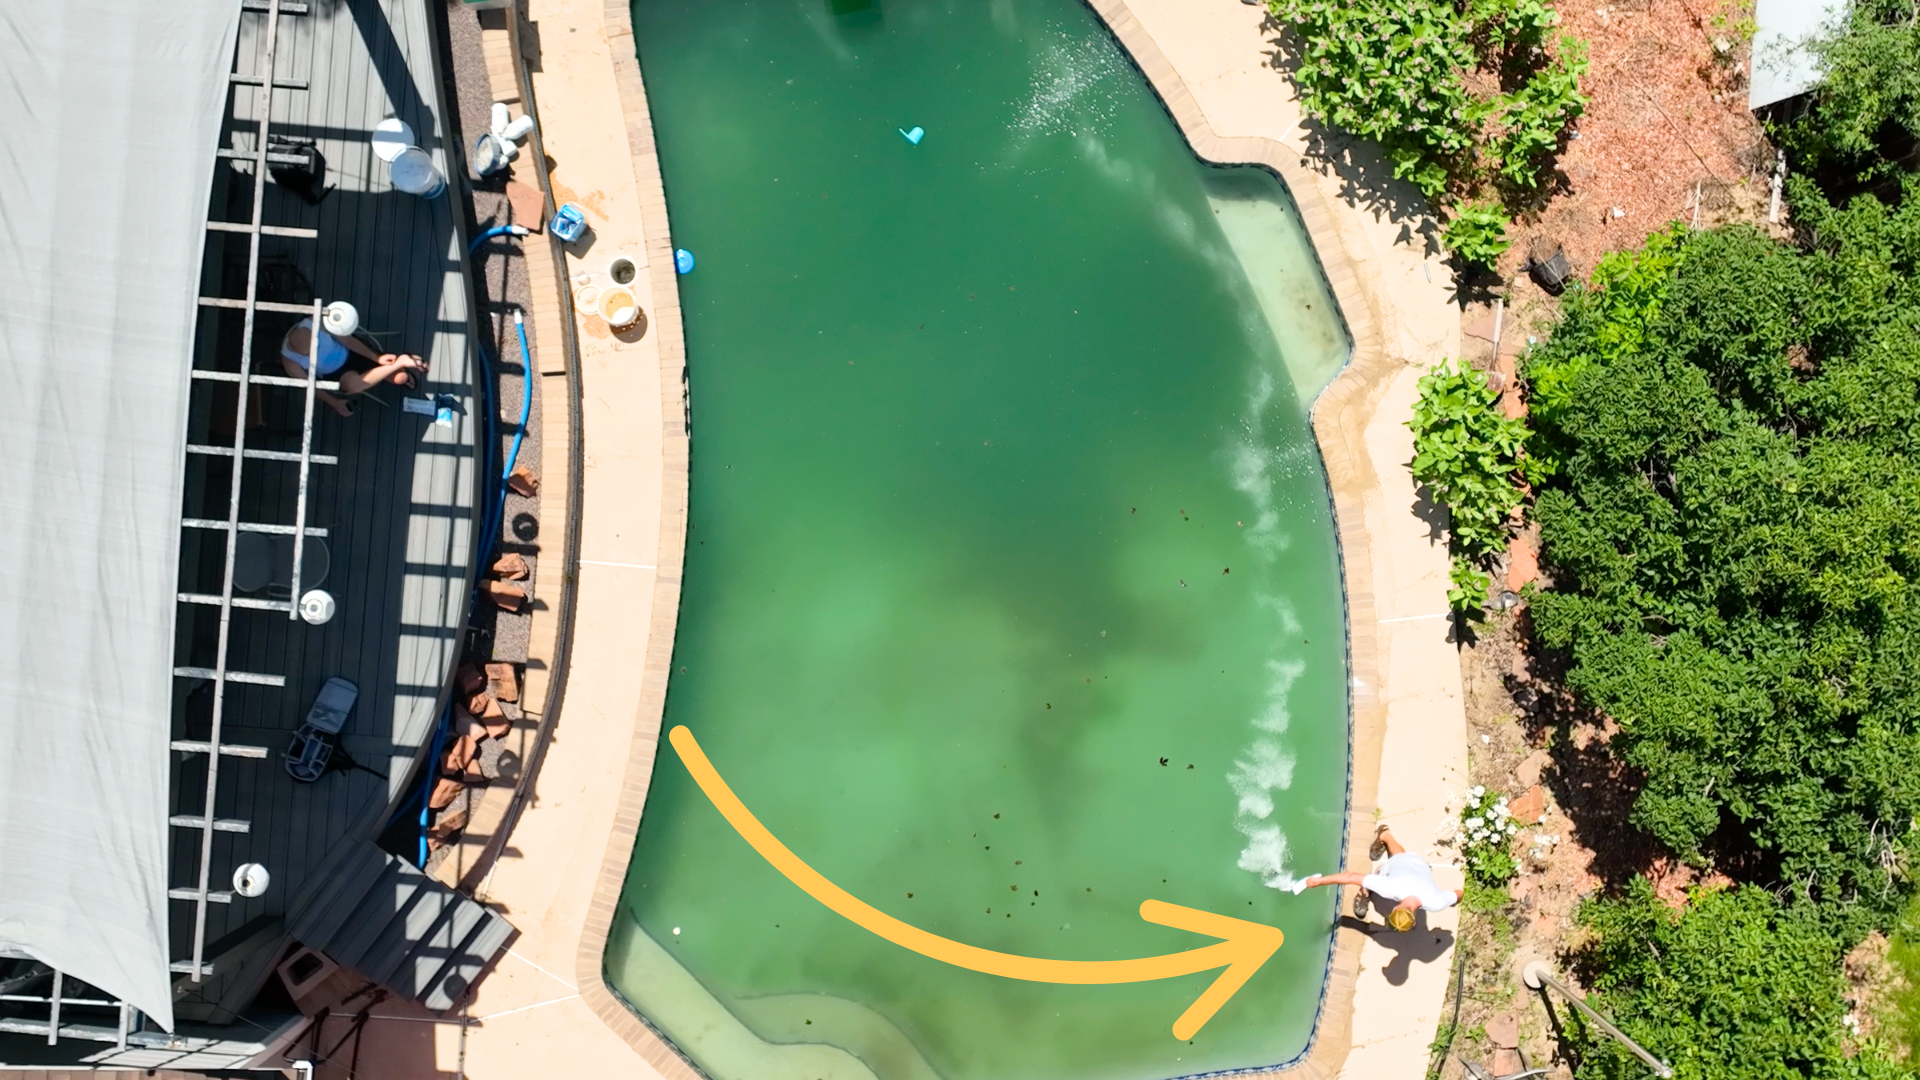
New Plaster Pool Startup: Wait to Add Chlorine
New concrete and plaster pools require extra care during a 28-day curing process. The finish is fragile at first, and the wrong chemicals or the wrong timing can cause permanent damage.
Here’s a quick timeline for new plaster pools:
- Days 1–3: Fill the pool immediately. Add a metal sequestrant if needed. Balance alkalinity to 80–100 PPM and pH to 7.2–7.6 (keeping it in the lower range). No chlorine for the first 48 hours. Run the filter continuously for the first 72 hours.
- Day 2: Once alkalinity and pH are set, bring calcium hardness up to a minimum of 150 PPM.
- Day 3: Add chlorine slowly to reach 1–3 ppm.
- Days 4–28: Continue brushing twice a day and testing daily. Slowly raise calcium hardness to 200–400 PPM over this period of time. Adjust CYA to 30–50 PPM after Day 4.
Do not turn on the heater until all plaster dust is gone. Avoid using calcium hypochlorite shock during the early startup phase, since this can cause staining on fresh plaster.
New Fiberglass Pool Startup: Keep Calcium Hardness Lower
Fiberglass pools are generally easier to start up than plaster pools because the surface is non-porous and doesn’t require a curing process. You won’t have the plaster dust issue or the same brushing regimen.
The biggest chemical difference between fiberglass pools and other types of pools is the need for lower total calcium hardness levels. Your target range is lower at 175–225 PPM, with the lower end being ideal. High calcium hardness in a fiberglass pool can cause permanent surface damage, like thick white scaling and rough texture. Low calcium can still cause problems, though. Heaters and other equipment need some calcium to protect their internal components.
Follow the same chemical order as any other pool: add metal sequestrant, adjust alkalinity, then pH, then calcium hardness, then chlorine, and finally CYA.
How Long Should You Wait to Put Salt in a New Pool?
Wait at least 28 days after plastering or installation before adding any salt. This is especially important for new plaster and PebbleTec finishes.
Adding salt too early can damage the curing finish and cause staining, mottling, and scaling. In the meantime, use chlorine to keep your water sanitized and balanced.
When you’re ready to add salt, pour it into the deep end with the pump running. Then brush the pool to help the salt dissolve evenly. Turn on your salt generator once the salt is fully dissolved and your salt levels are in the correct range for your system. Here’s a complete guide on adding salt and salt water pool startup.
How Long Before You Can Swim in a New Pool
For a newly plastered pool, you should wait at least 5 to 7 days before swimming. This gives the surface time to cure and your water chemistry time to stabilize.
That said, waiting the full 28 days for the finish to completely harden guarantees it’s safe from damage. Swimming too soon can leave permanent footprint marks or damage the soft plaster surface.
At a minimum, make sure your water is balanced with a pH of 7.4–7.6 and free of excessive plaster dust before anyone gets in. Do not use the pool heater for the first 5 days, and keep automated, wheeled, or robotic cleaners out of the pool for the full 28 days. When in doubt, check with your pool builder.
Key Takeaways
- Fill the pool immediately after the finish is applied, especially for plaster pools, and run the filter continuously for at least 72 hours.
- Balance your chemicals in order. Add metal sequestrant first, if needed, then adjust alkalinity, then pH, then calcium hardness, then chlorine, and finally CYA.
- Wait 48 hours before adding chlorine to a new plaster pool to avoid staining and surface damage.
- Brush twice daily for the first 14 days to keep plaster dust from settling and hardening on the surface.
- Do not add salt to a new plaster or PebbleTec pool for at least 28 days. Adding it too early can damage the finish and void your warranty.
- Test your water daily during the first week and retest after every chemical addition to stay on top of shifting levels.